If you ask a hundred cyclists, how do you fix a bike tube, you will probably get a hundred different answers. We have asked around the cycling world, including our own guys, how do you fix a bike tube, this is what they told us.
What you need: tools and materials
It is a pretty simple affair to fix a bike tube but you will need a few things in order to do this. First of all you need a repair kit, you can find our favorite here, you will also need something to reflate the tire, either a pump or a co2 inflator,which we reviewed here.
First things first!
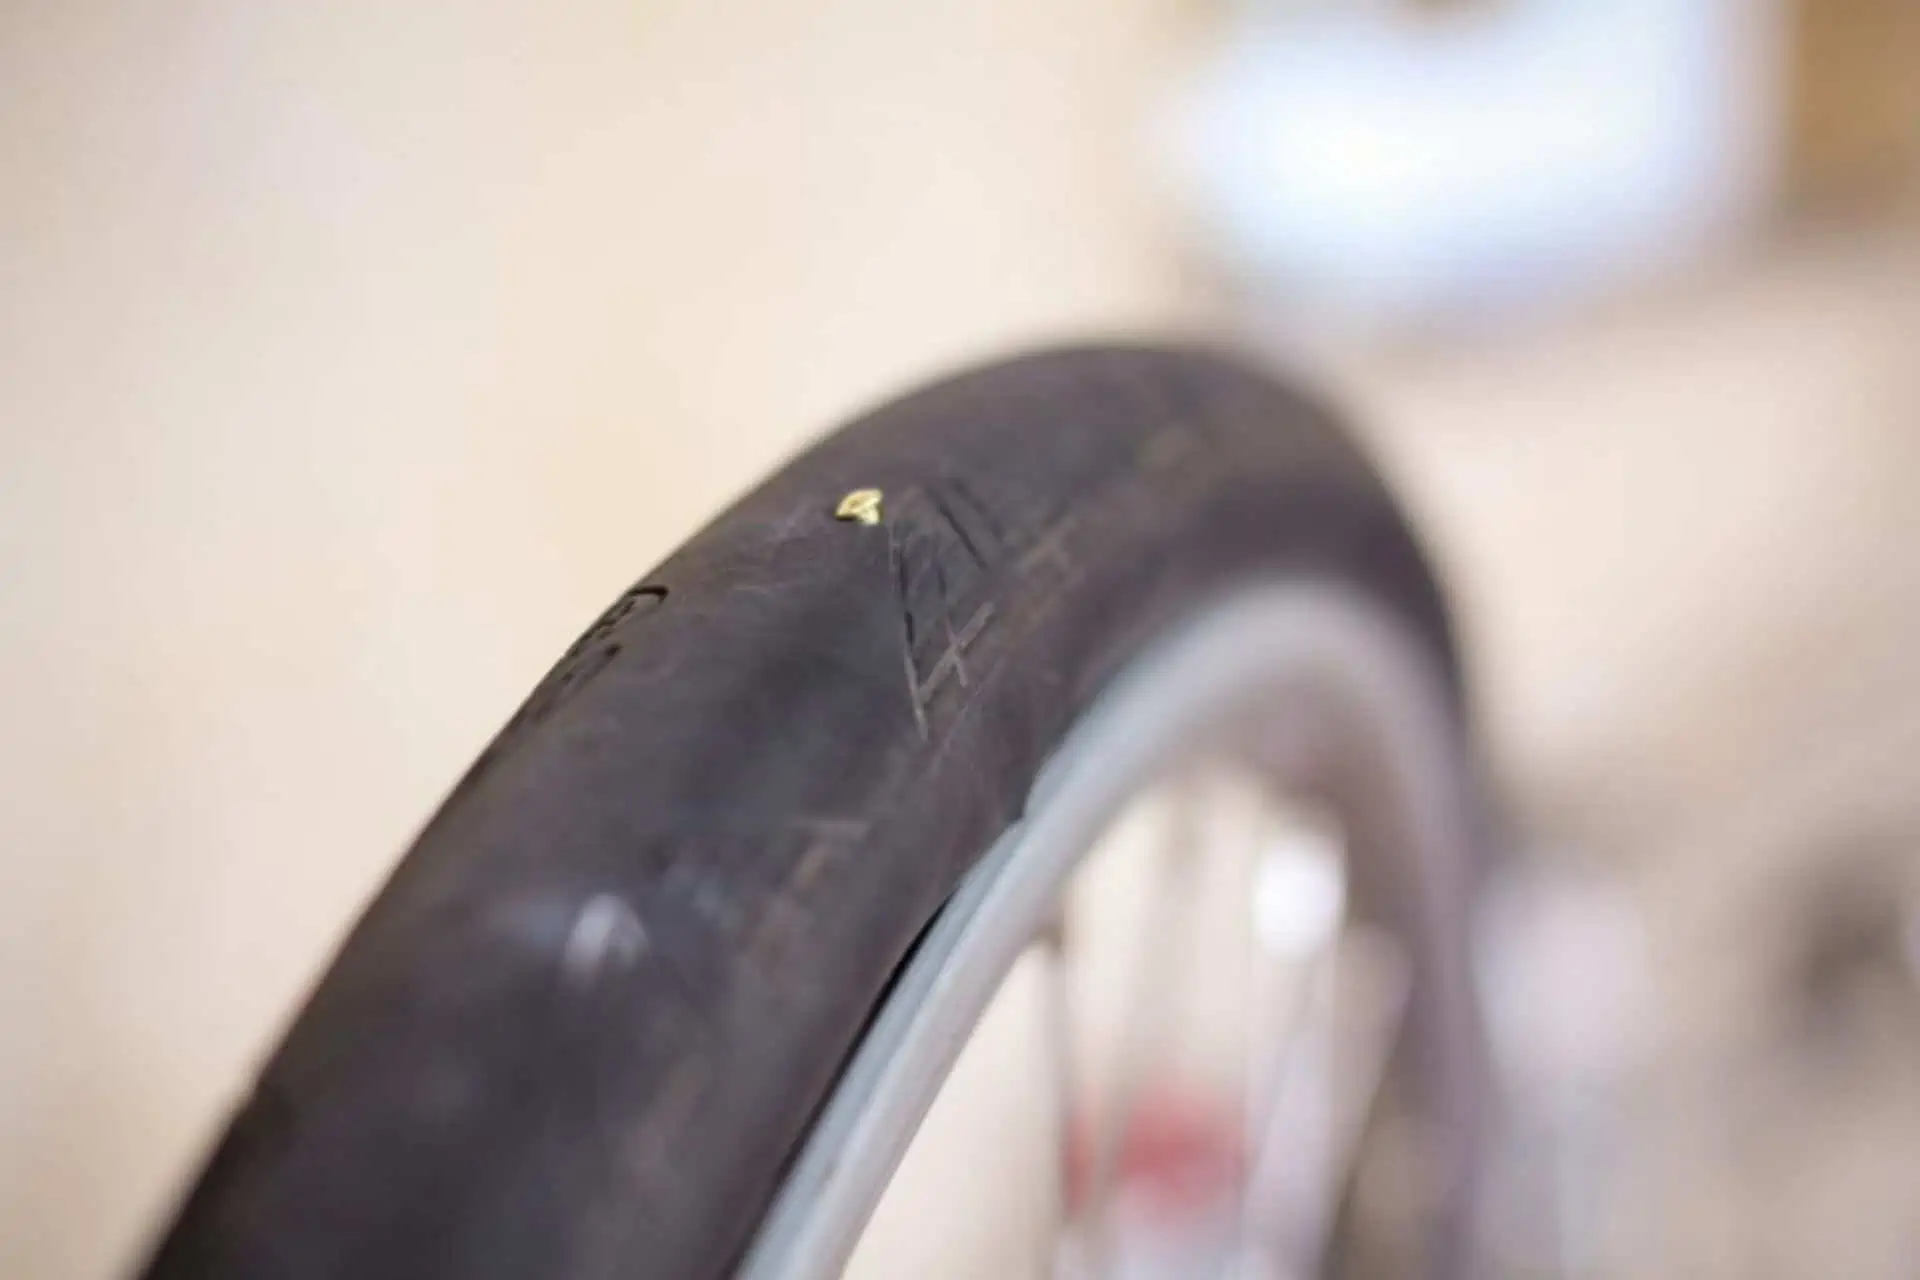
Before you start ripping the tube from the rim, spend some time looking at the tire itself to check if you can see the cause of the tire going down. Sometimes it’s obvious like a great big nail sticking out but sometimes it can be thorns or shards of glass that can be the issue. By looking at the tire first you can possibly save yourself some time as you will know exactly where to look on the tube for the puncture itself. Once you’ve found the problem,carefully remove it.
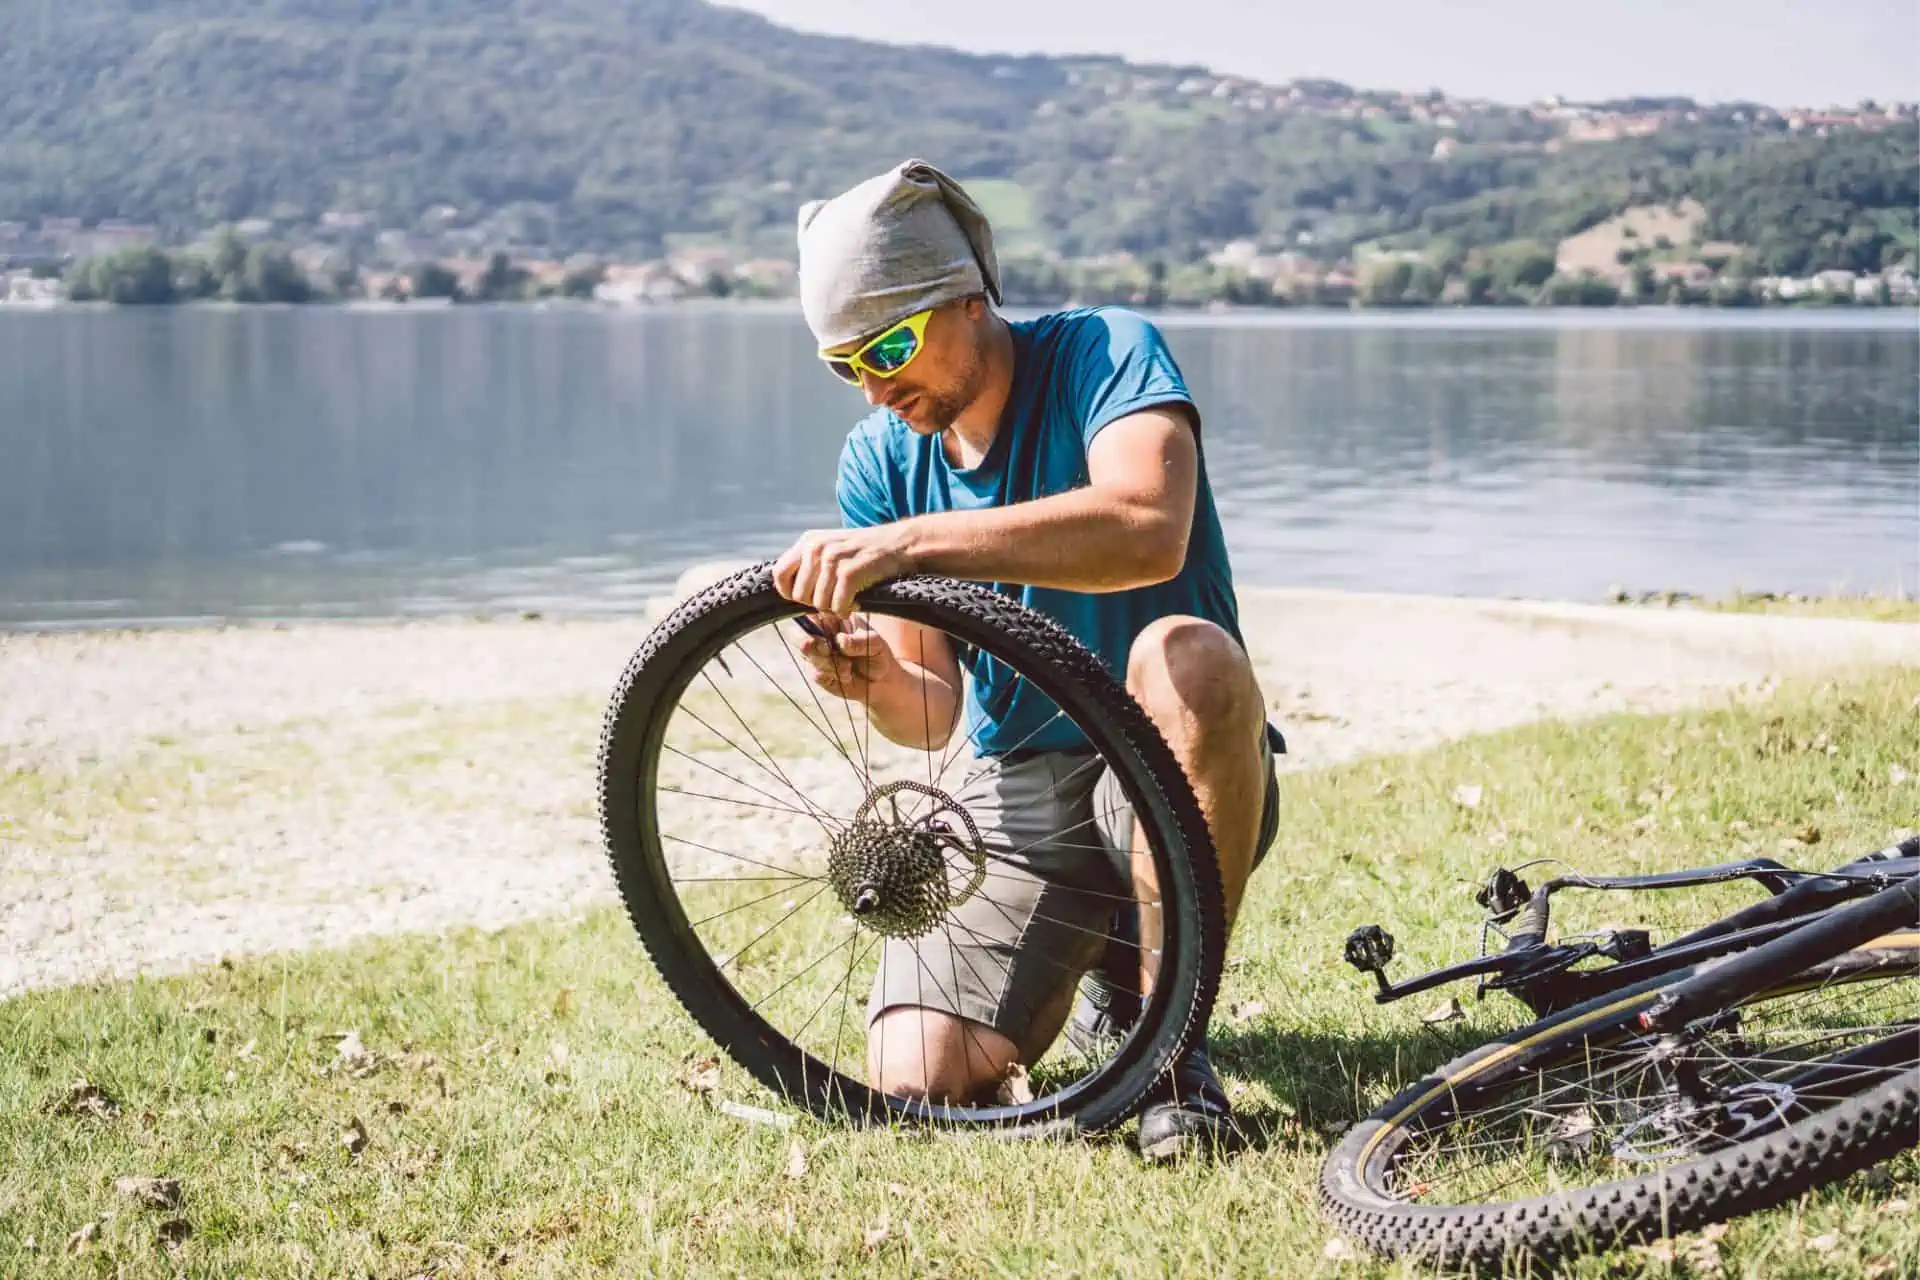
If you can’t see anything on the tire, you will need to remove the tire and repeat the process of looking for the hole. This is more difficult than it sounds as the tire is flat, so you will need some patience and good eyesight. If you have your pump to hand, pump up the tire to well above the normal pressure, you may be able to see, hear or feel the puncture, if there is water close by (there never is) you can dunk the tube in to locate the hole.
When you do find the offending little @#$%&!, always try to remove it by pushing rather than pulling. In other words try to get the thing out without enlarging the hole it has already made.
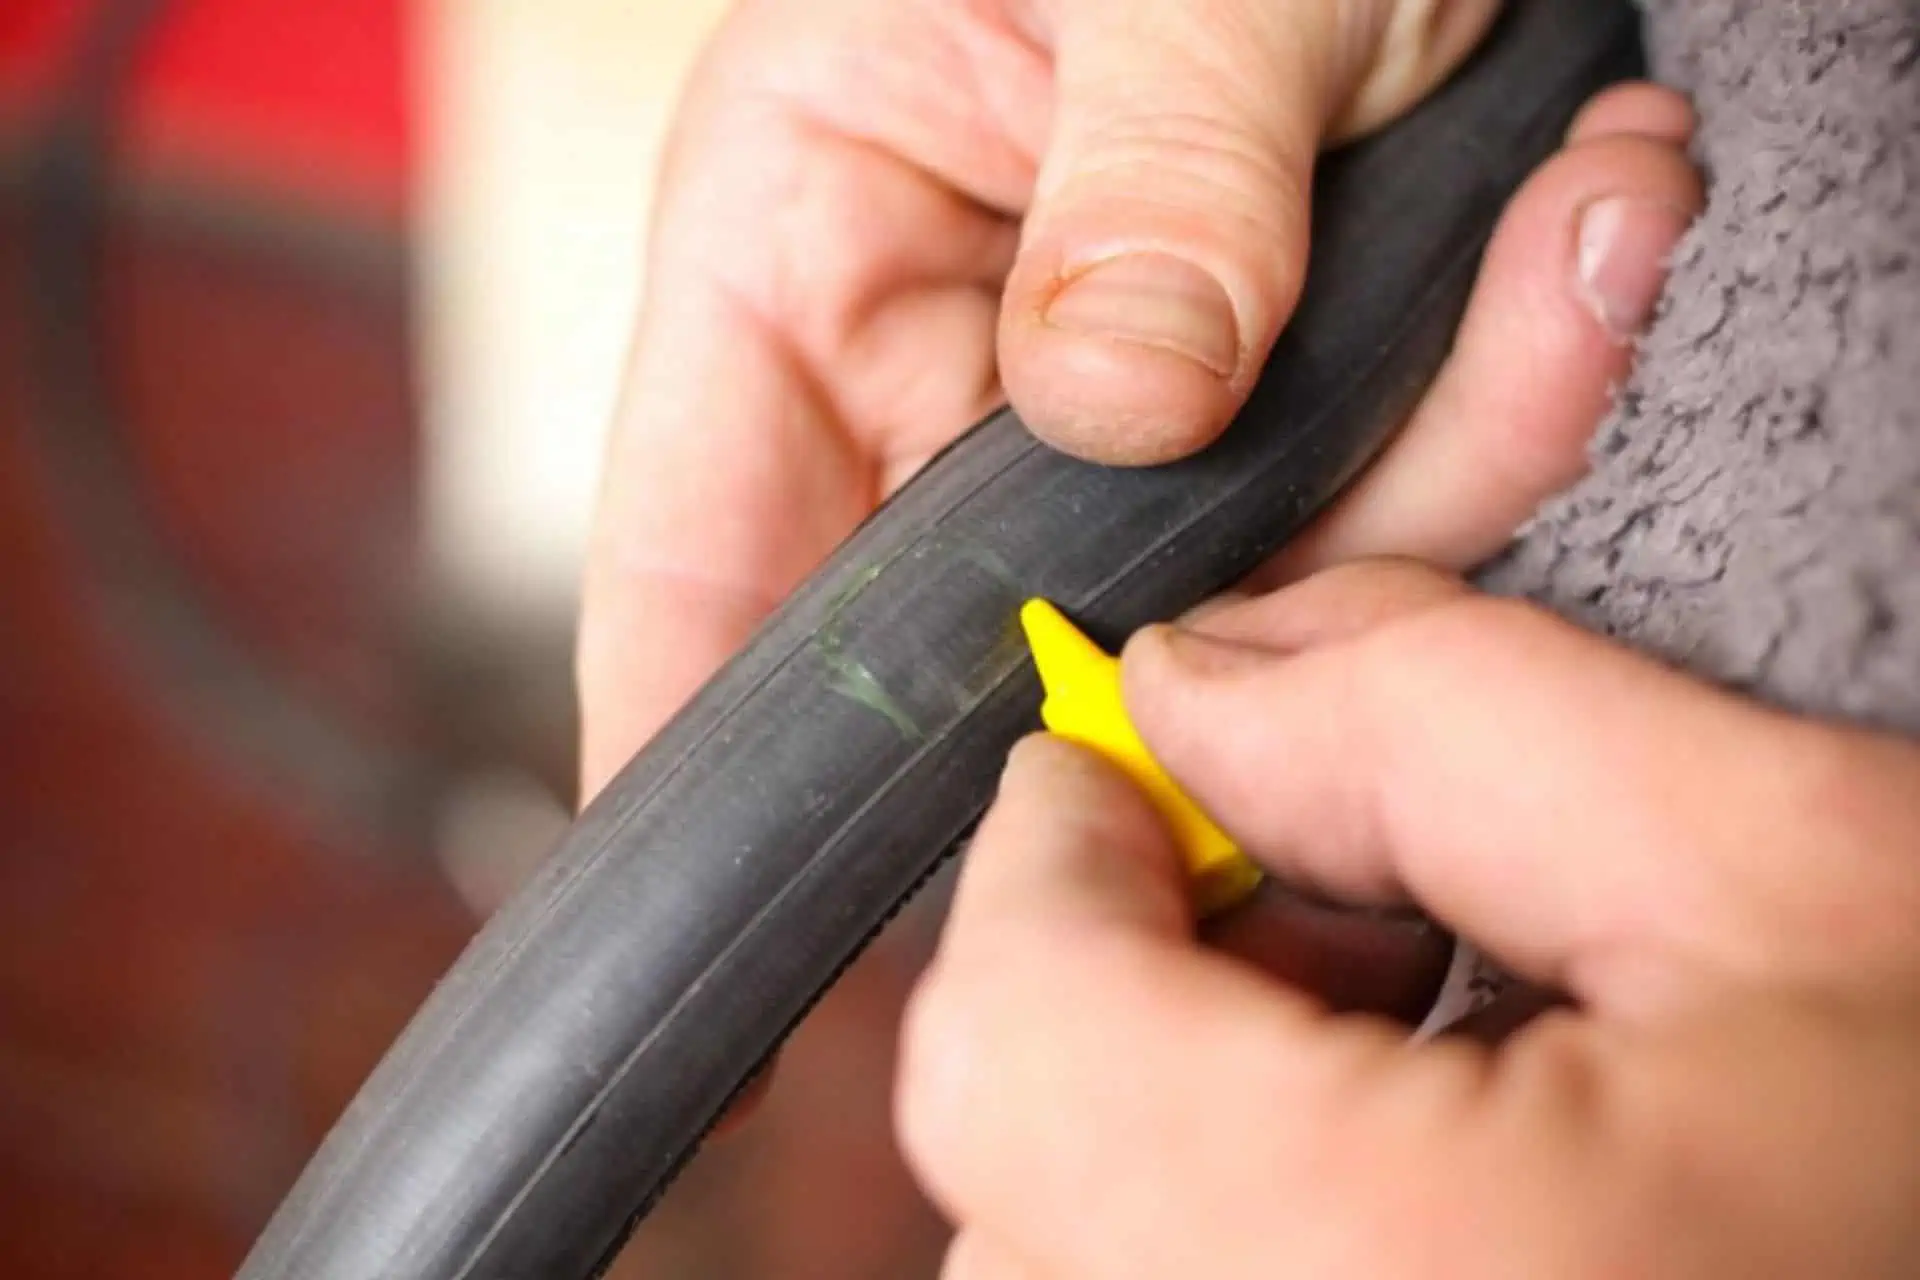
Mark it.
Once you have found the hole mark it with the marker in your repair kit. If you have a biro to hand, that works just as well. We suggest that you mark the area at least as big as the patch you are going to use.
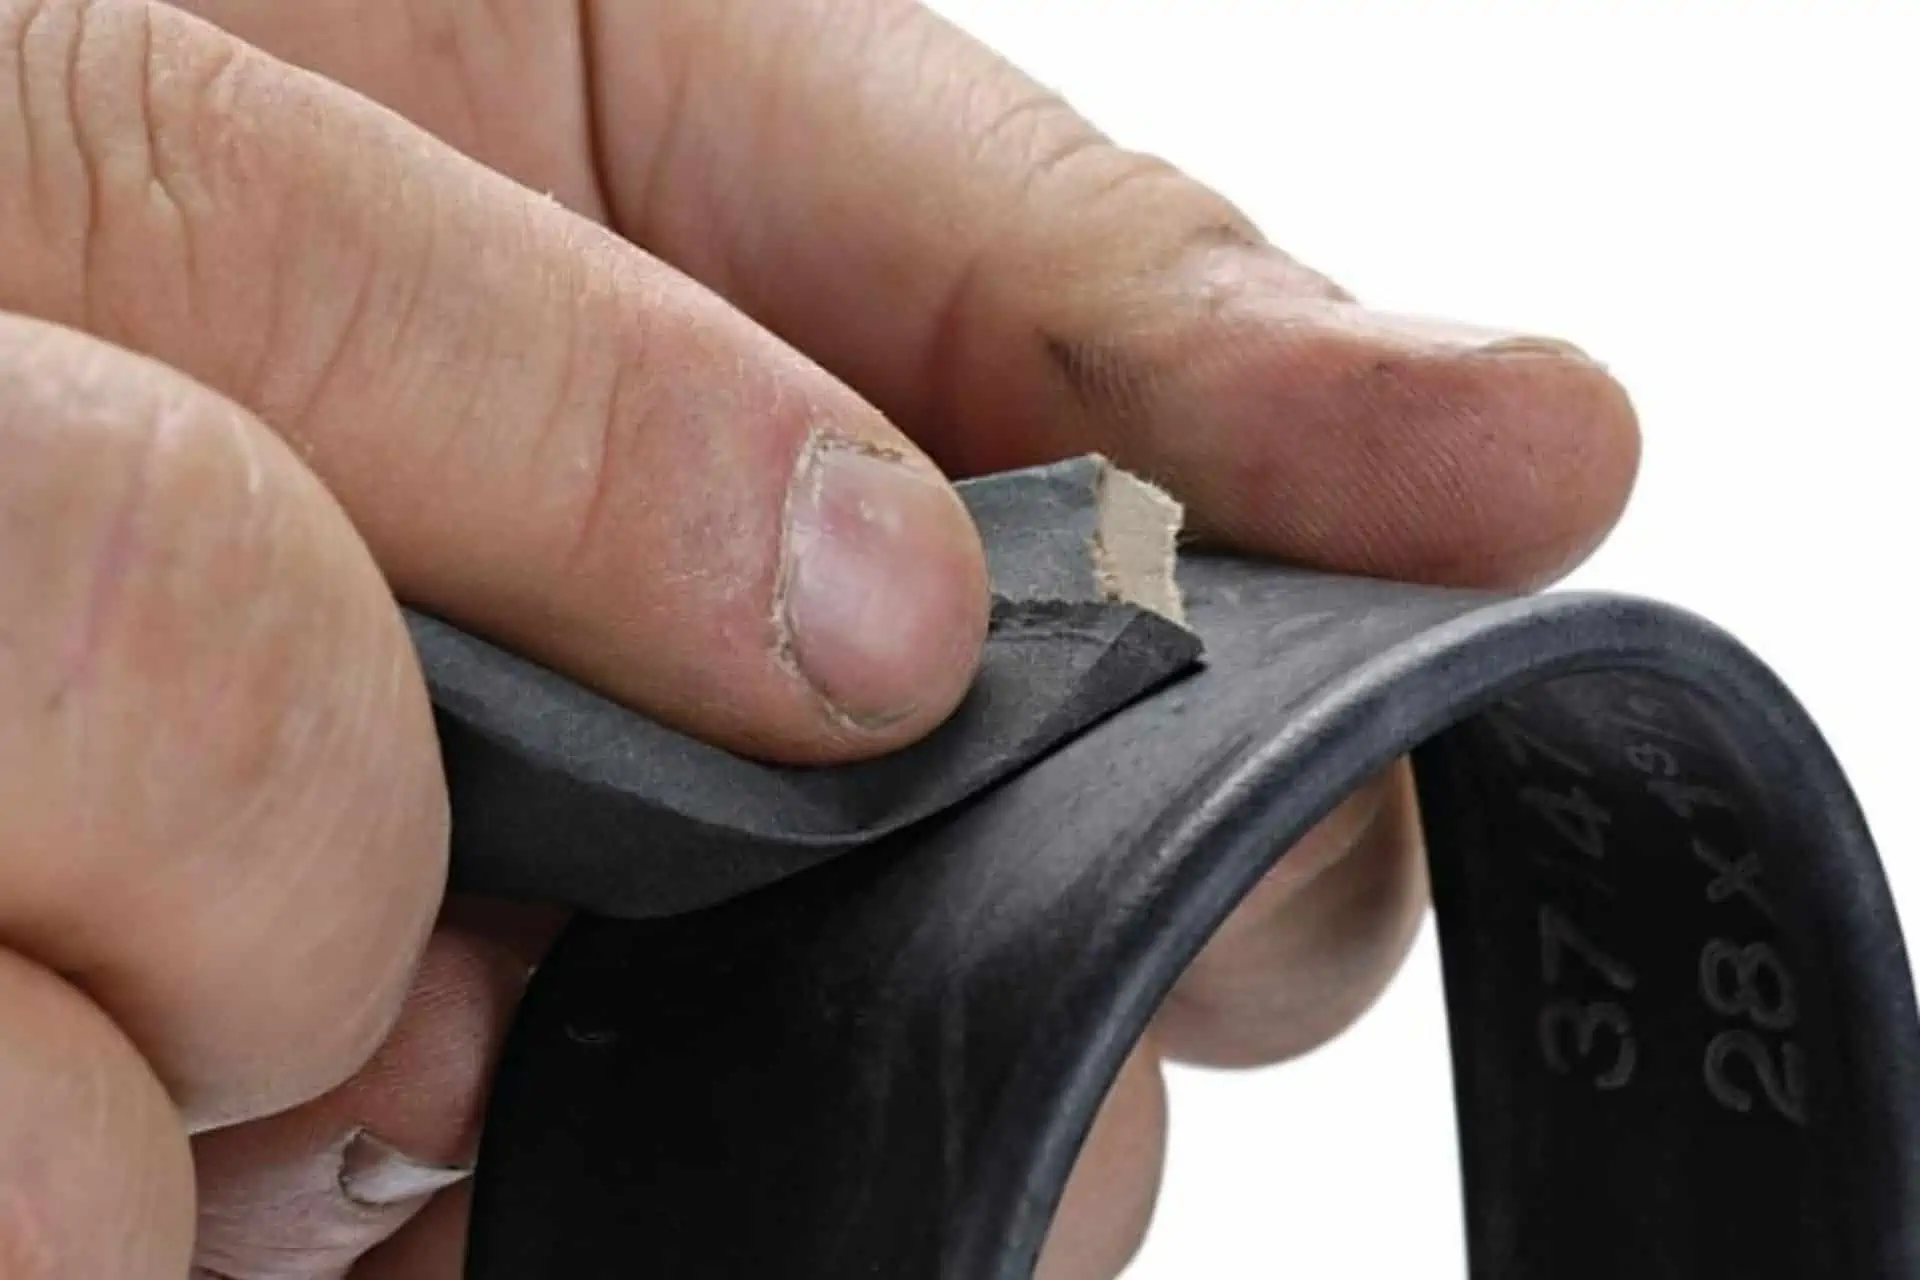
Rough up the tube.
Using the sandpaper that is included in your repair kit,sometimes it will be a little metal “grater” on with indentations, rough up the area where the patch is going to be placed. Don’t get carried away with yourself, you don’t need to rag the tire, just rough it sufficiently to “key” the surface.
Vulcanize
There will be a tube of self vulcanizing fluid in your repair kit. Apply this fluid to the tire, ensuring that the fluid exceeds the area of the patch. Then wait!
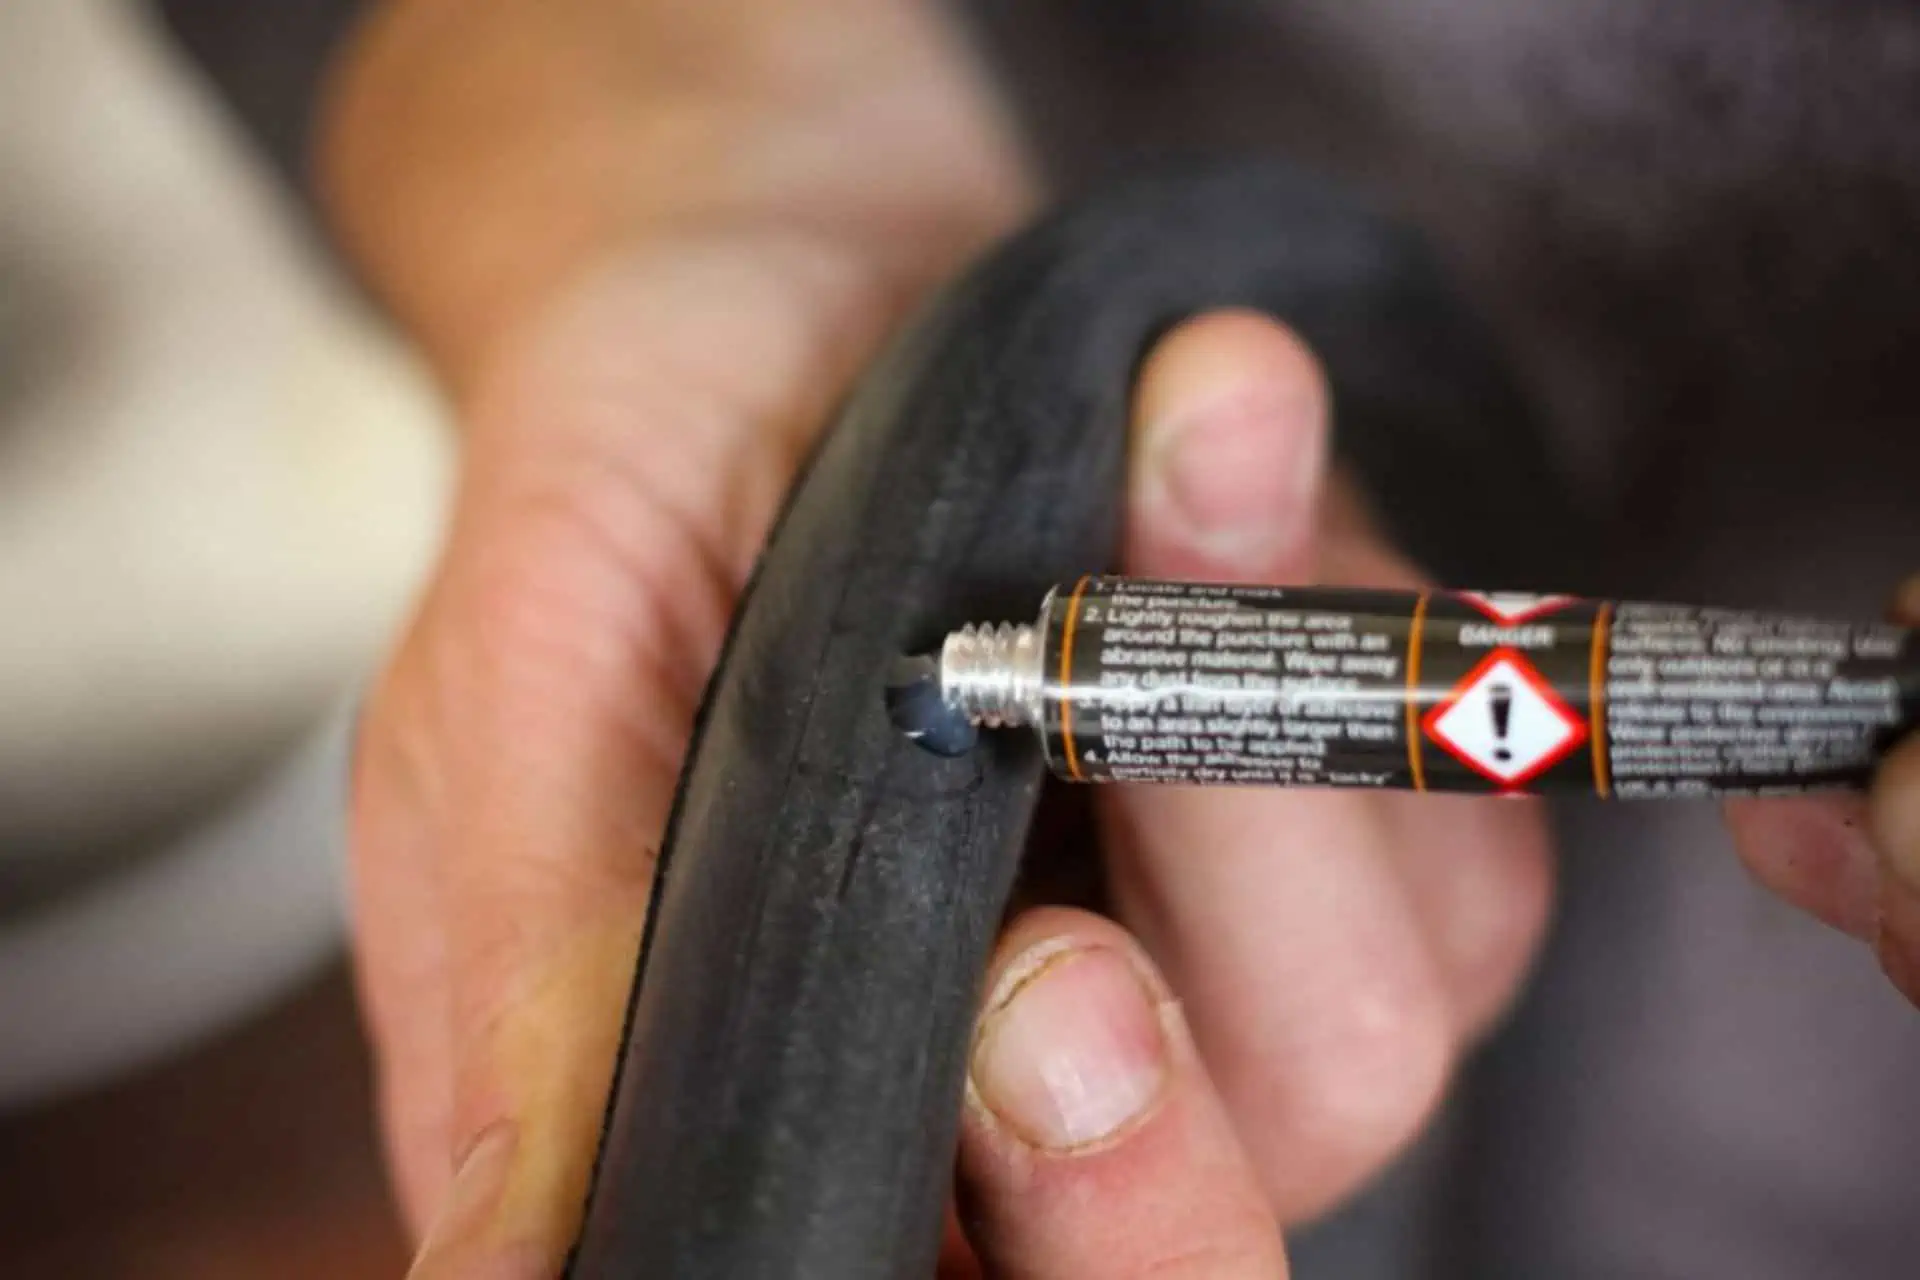
Whatever the time specified on the repair kit, wait for this period of time. We know that this can be a pain but it is better to repair a tire once rather than twice. Waiting the specified time allows the chemical reaction to fully take place.
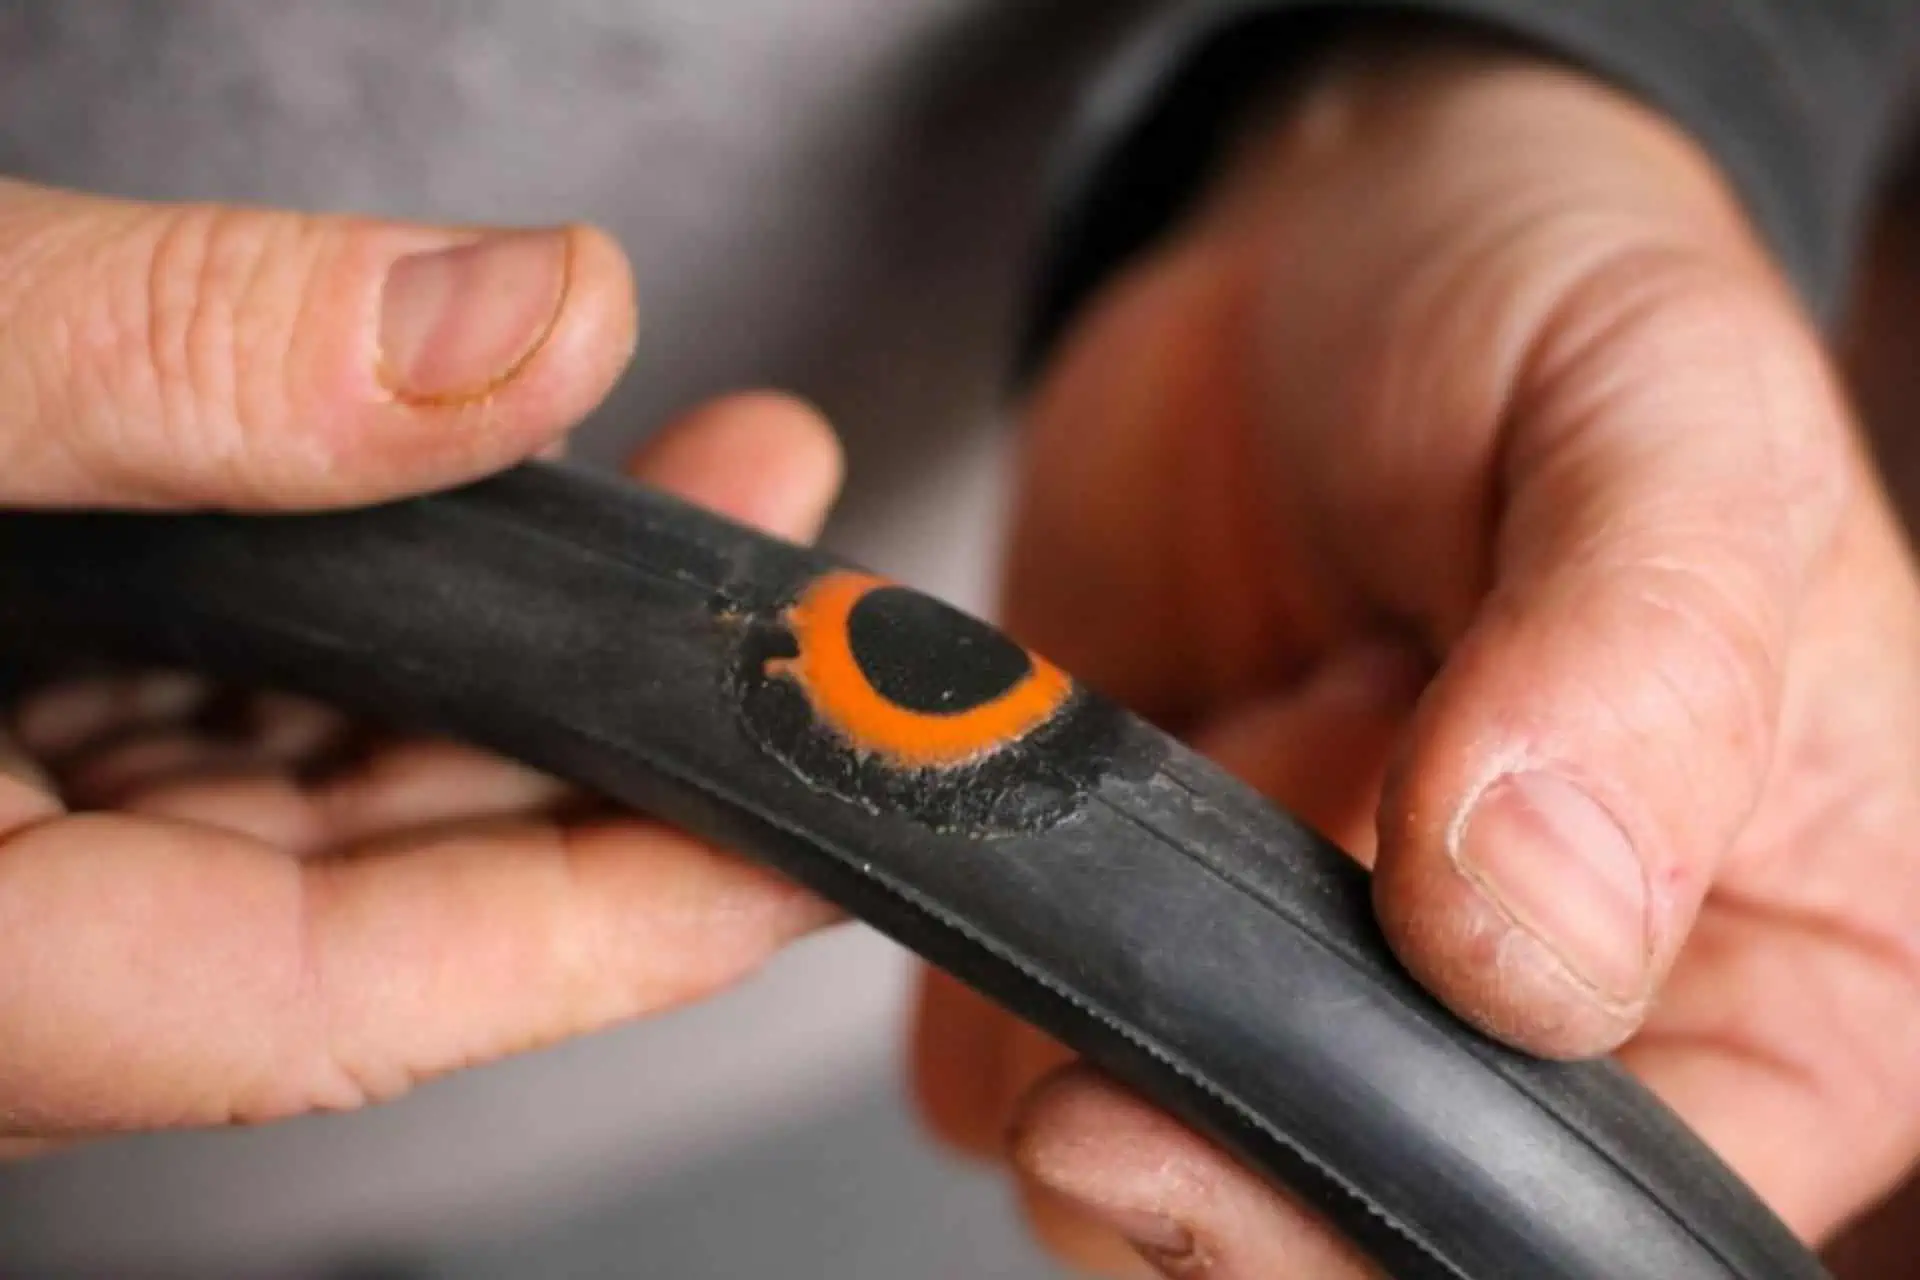
Patch
Take your patch from the kit and press down firmly onto the tube. If you have the time, allow another five minutes for the chemical bond to fully take effect.
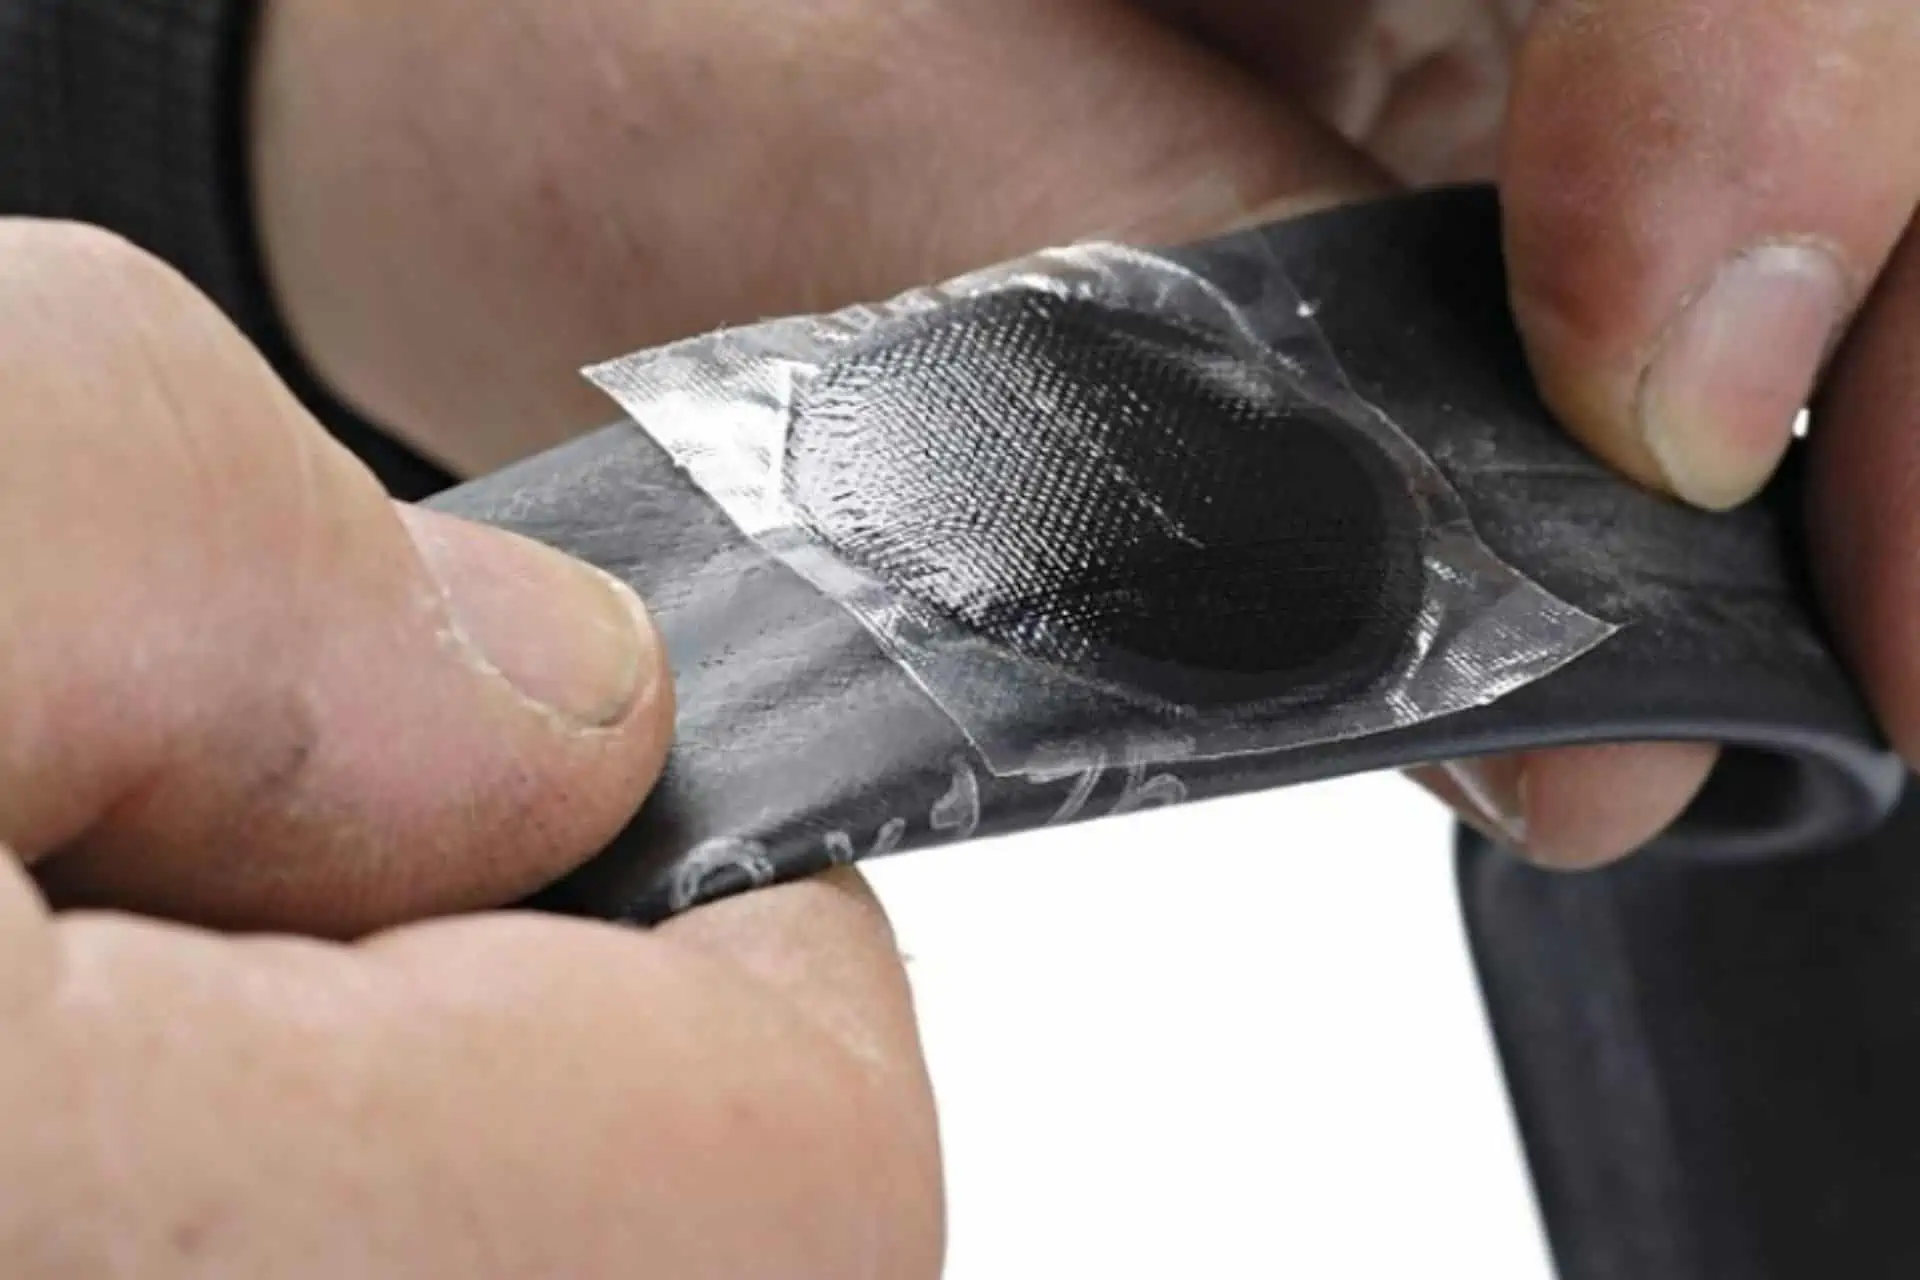
Peel
After you have waited the full five minutes!! Peel back the plastic cover from the patch and discard thoughtfully.
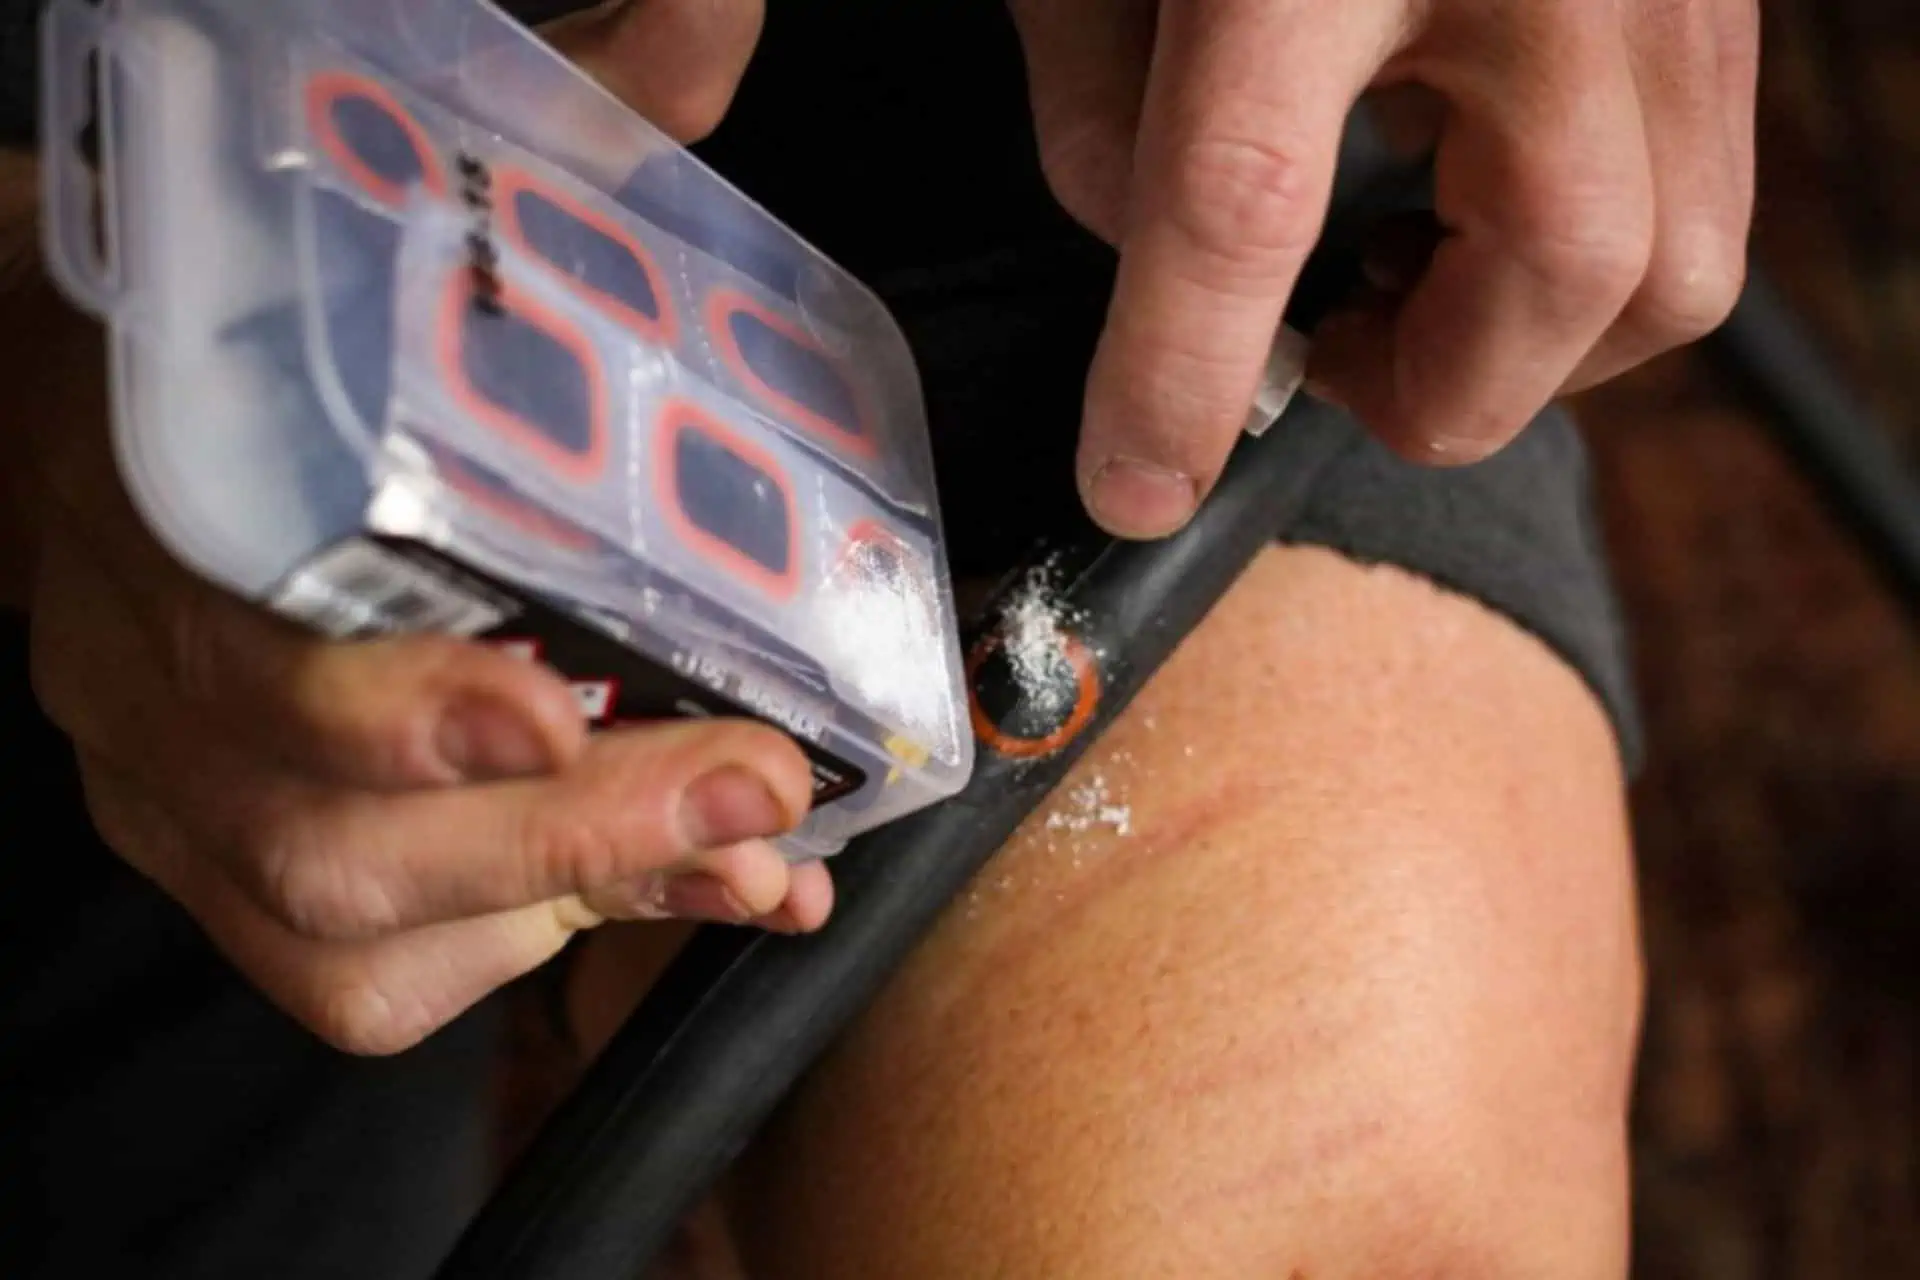
Chalk it up
Some kits don’t come with French Chalk but if you do have some, it’s a good idea to lightly dust the area of the repair with chalk. By doing this you can avoid the tube sticking to the carcass of the tire where the vulcanizing fluid has been.
Inflate
Inflate the tire using a pump or co2 inflator BEFORE returning the tune and tire to the rim.
Replace the tube and tire.
Once you are satisfied that you have satisfactorily repaired your tube, replace it with the tire and inflate again to the recommended pressure.
Faq’s – How do you fix a bike tube?
Is it better to repair or replace a bike tube?
There are arguments for and against. Obviously a brand new tube is, or should be perfect, logically then a new tube is “best”. However a properly repaired tube will give almost just as good service, it will be better for the environment and considerably cheaper than replacing. And now youv’e read our post on How Do You Fix A Bike Tube, you know what to do!
How long can I ride on a patched bike tube?
You can ride on a properly patched tube pretty much indefinitely, there are some limitations of course, multiple patches on tires can be problematic as can tubes that have suffered extreme damage, but generally speaking a patched tire will last the course.
Can you use duct tape to patch a bike tire?
Theoretically yes but it has to be said that you would only attempt to do this if you don’t have a repair kit. And that you don’t have too far to go! Read this post on How Do You Fix A Bike Tube? and I think you’ll see that it’ an easy enough process.
What household items can I use to patch a bike tire?
We have shown the normal way here answering How Do You Fix A Bike Tube. There are some weird and wonderful ideas out there on the net. From deodorant to WD40, from glue to grass and tie wraps. (The last one works if you are on the road with nothing else to hand) but really what are we talking about. You have a $1000 bike, with $100 tires containing $30 tubes, why wouldn’t you use a proper $15 kit that will work just fine?