How to Make Bike Seat More Comfortable?
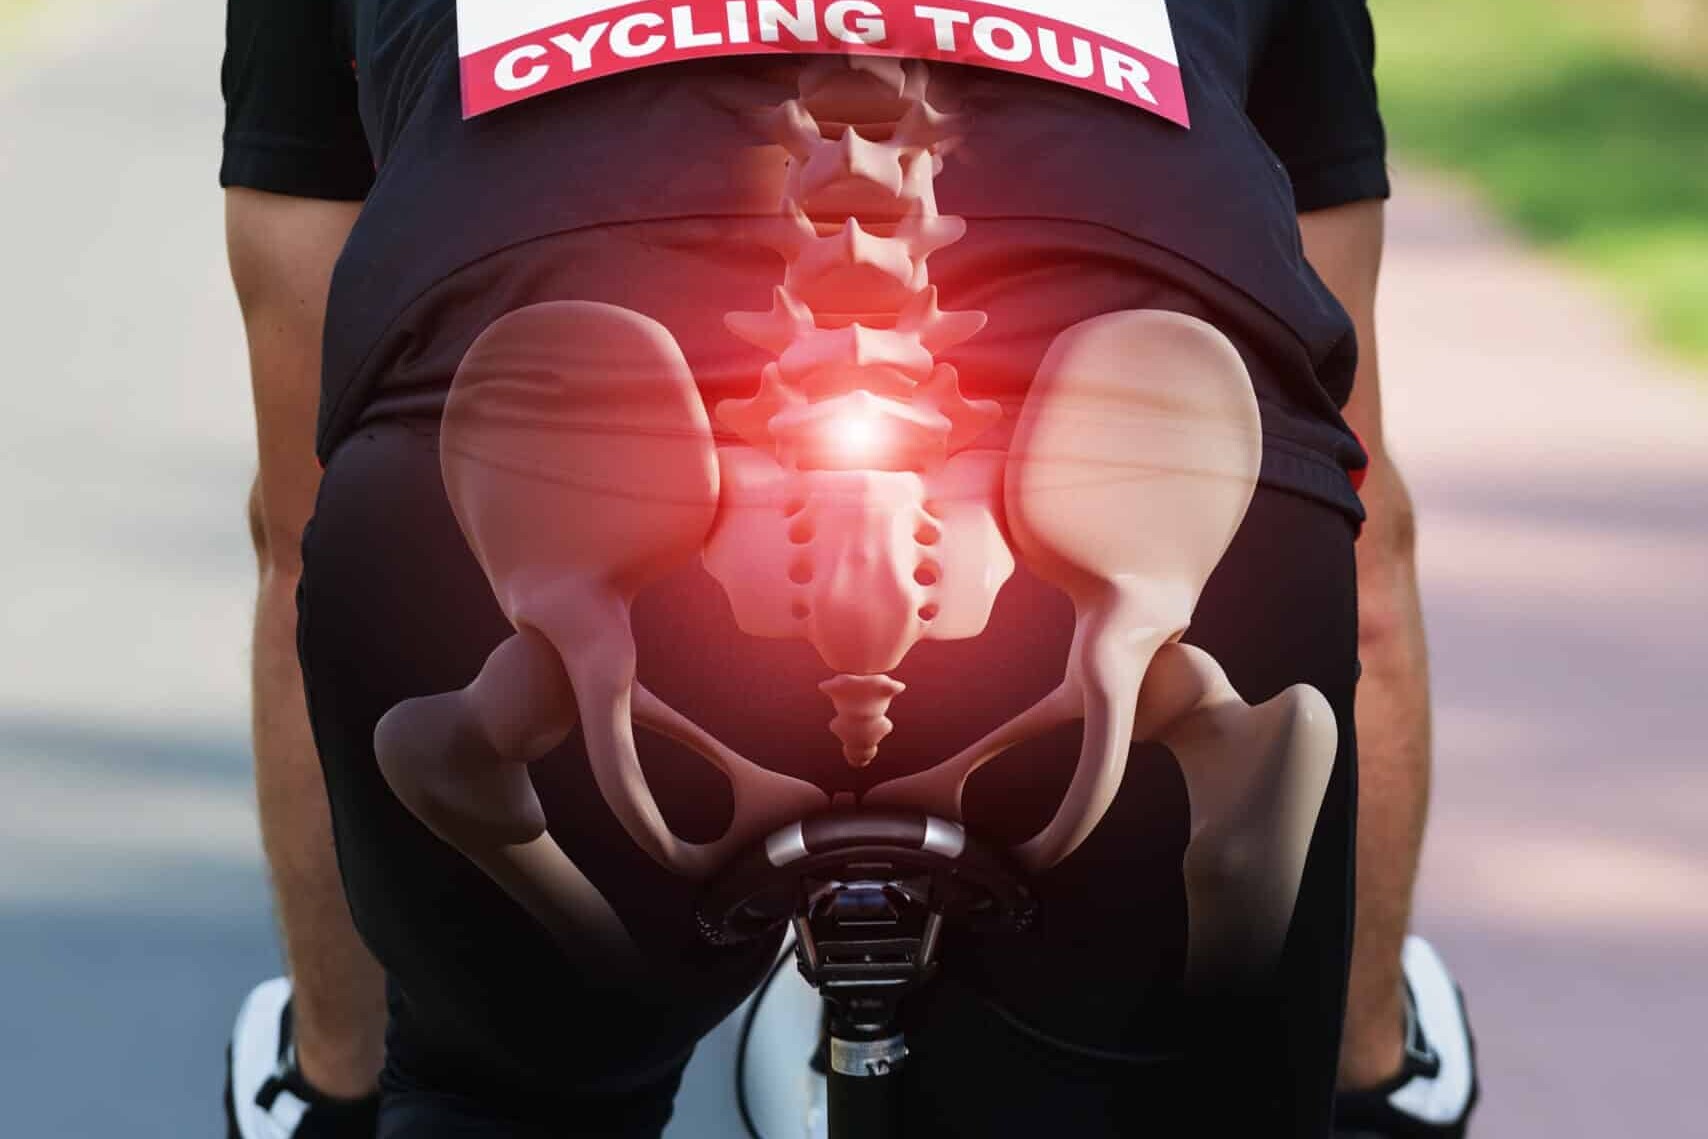
Every cyclist who has ridden a bike long enough knows this; sometimes the bike seat can be a pain in the ass. Literally! In other words, if your bike seat is uncomfortable, you could develop saddle sores and lower back pain in the long run.
The good news is, we’ve done our homework and in this article, we’re going to tell you how to make a bike seat more comfortable. Without further ado, let’s dive right in.

Top Tips For Making A Bike Seat More Comfortable
Use Thin Saddle Padding to Make a Bike Seat More Comfortable
Contrary to what most people think, a thick saddle pad could do more harm than good. This is because when you’re riding a bike, your body weight should be supported by your sit bones; but if you use a thick saddle pad, you will put more pressure on the soft tissue making it difficult to ride.
However, a thin saddle pad will do the opposite; it will reduce the pressure on your soft tissue and make it easier to support your weight on the sit bones. This is one of the methods to make a bike seat more comfortable.
If you’re on the hunt for high-quality thin saddle padding seat covers, we recommend the following options:
1. Pretty Jolly Gel Bike Seat Cover: This is a thin saddle cover that is ideal for narrow seats. The silica gel and memory foam material deform every time you sit on the saddle so it doesn’t obstruct your sit bones. Better yet, the seat cover doesn’t get affected by dust, water, or ultraviolet rays.
2. Cevapro Bike Saddle Cover: This is one of the most popular seat covers on the market since it can work with all types of bikes; as long as the seats are narrow. It doesn’t just absorb the shock when you’re riding but it will reduce the hip pressure and soak up the sweat or moisture to improve your comfort.
Sit Right on The Saddle
Sometimes all it takes to make a bike seat more comfortable, is to know how to sit right on the saddle. Don’t be that guy who sits on the nose of the saddle and later complains of back pains and butt numbness.
It’s a little bit obvious to even say it; if you have to sit on the saddle, make sure your butt occupies the whole seat. In other words, your sit bones should be positioned on the wider part of the saddle as much as possible.
However, if you sit too upright and let your full body weight burden the seat, it may cause some discomfort, especially on a long-distance ride. Instead, you should slightly bend your upper body so you can distribute at least 30 percent of your weight on the handlebars.
Adjust The Vertical Angle of Your Bike Seat
If the angle of your saddle is too high or too low, you could experience lower back pain or saddle sores. Since you don’t want that happening, you should adjust the angle of your seat to not more than 2 degrees upwards or downwards.
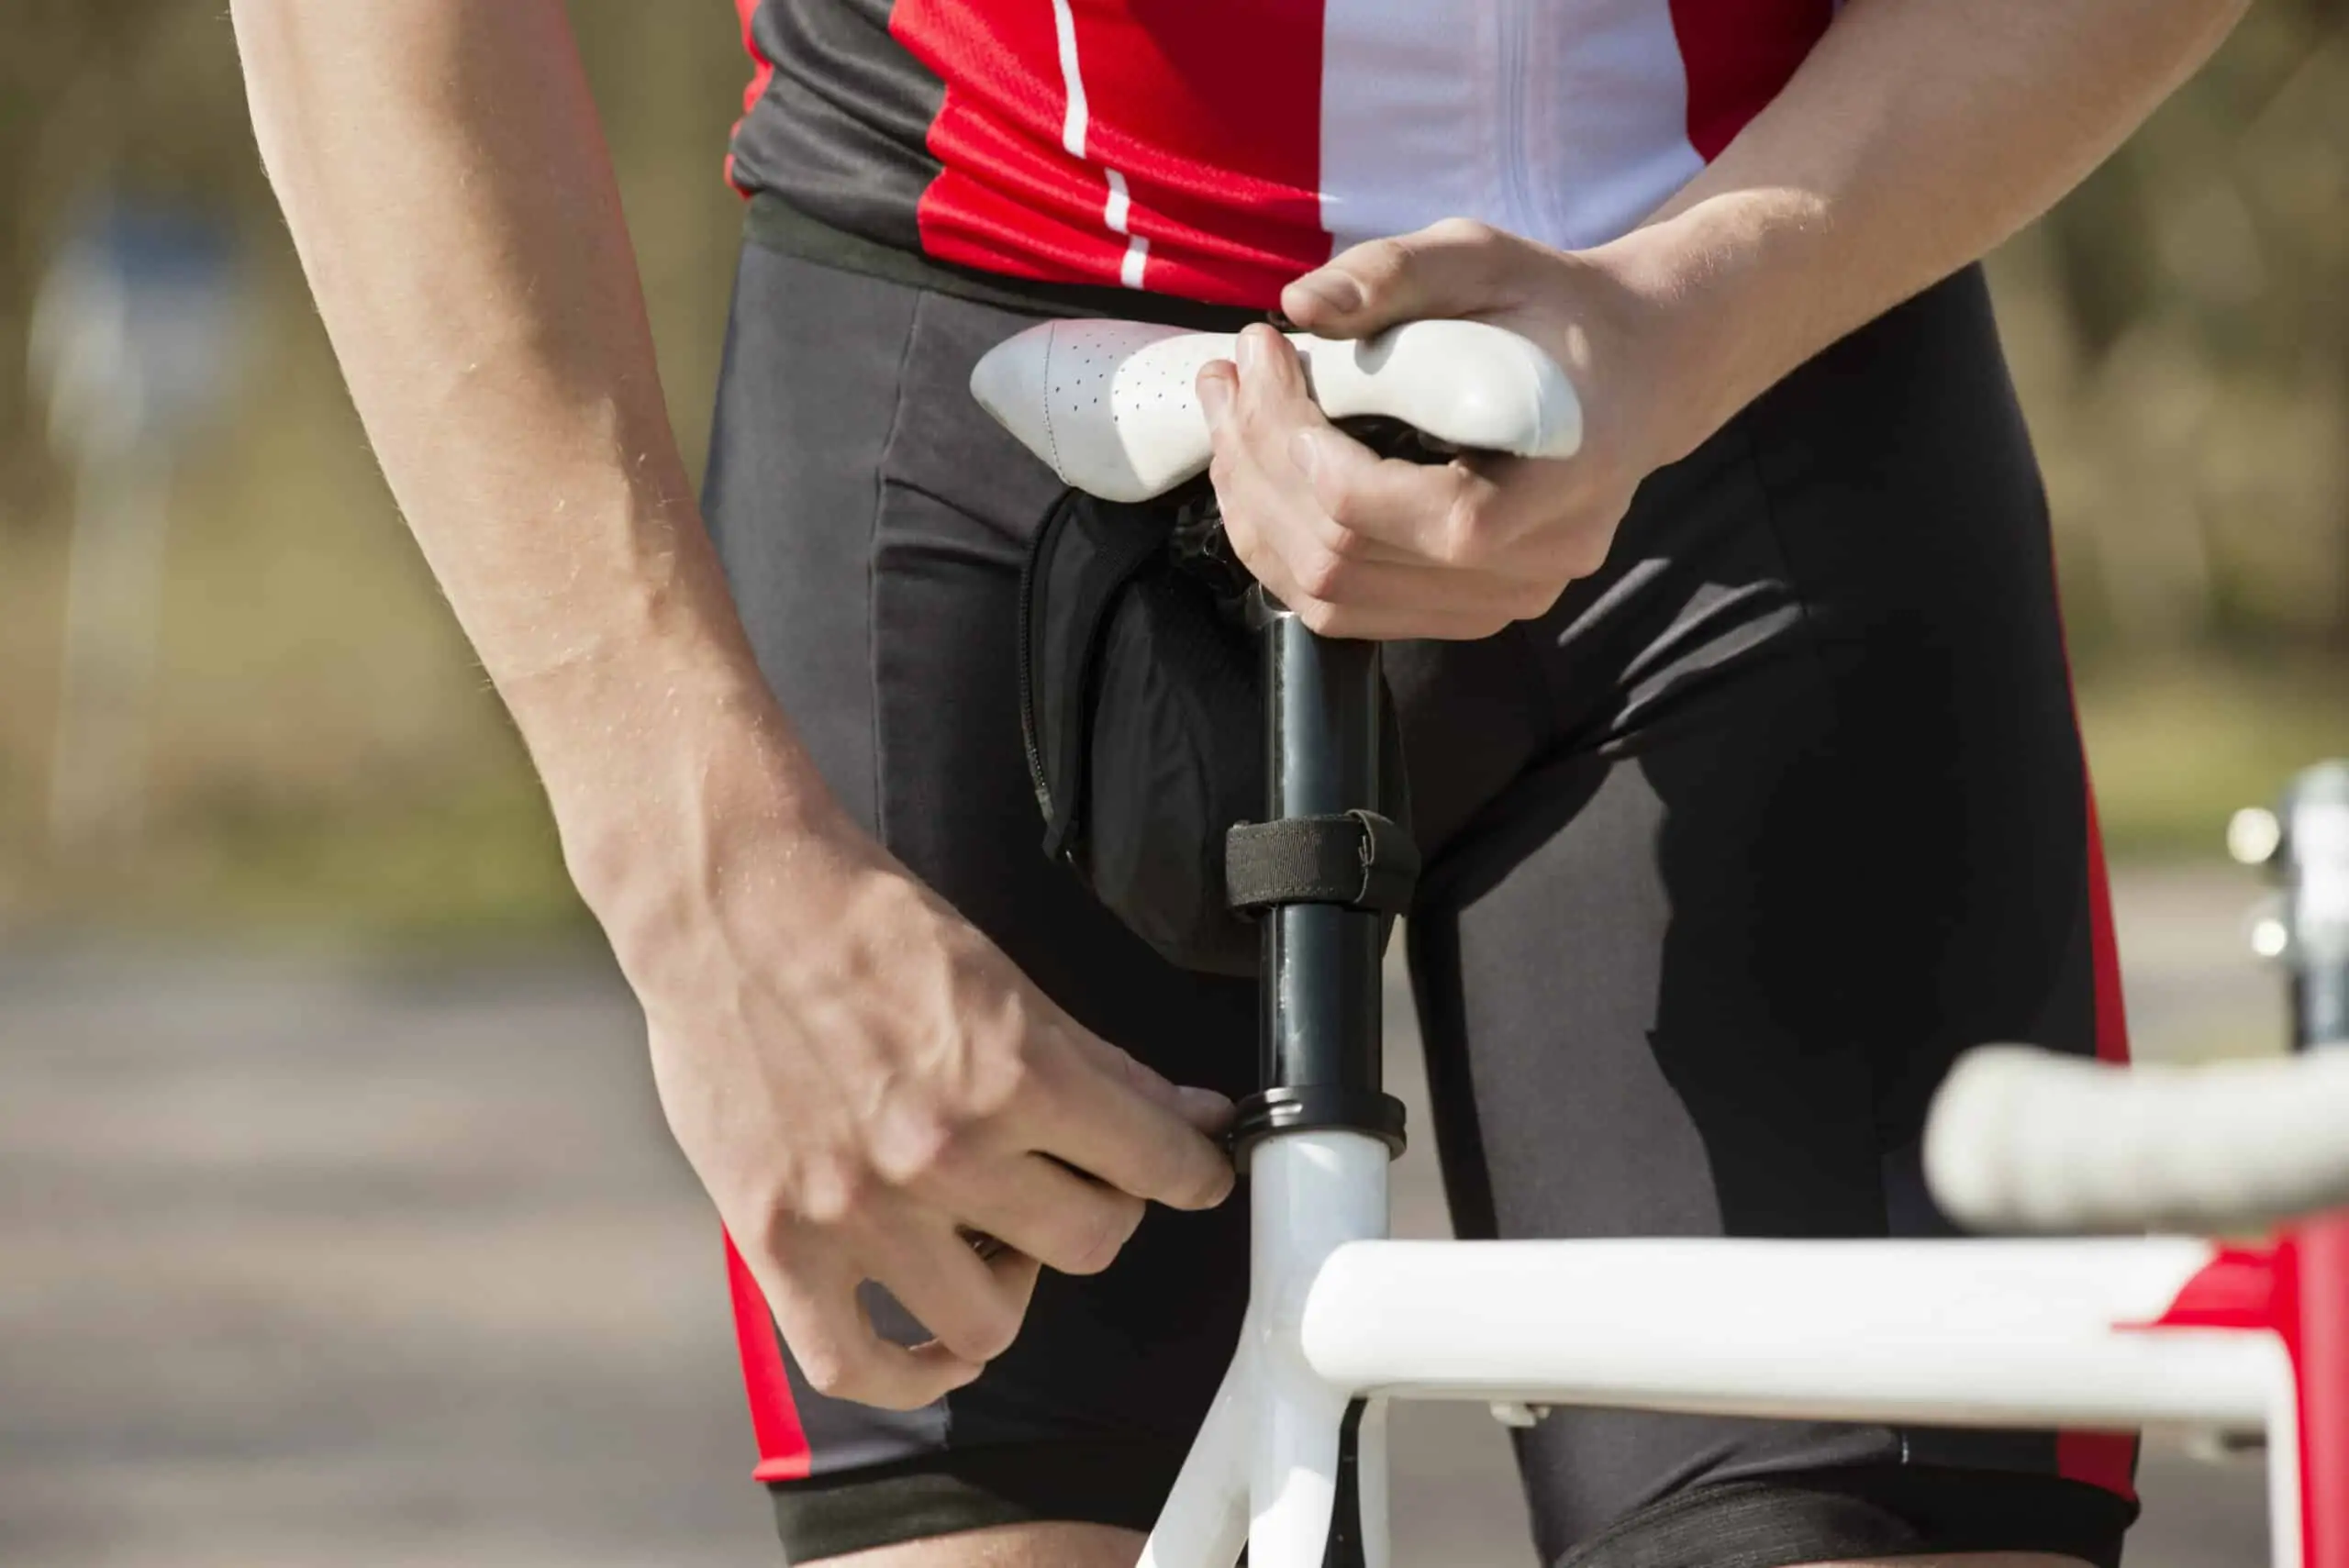
First, position your bike on a level surface; both the rear and front wheels should be aligned at a 180-degree angle. Next, you should loosen the bolts attaching the saddle to the seat post using an Allen key or wrench.
Once you’ve removed the bolts, you should be able to adjust the angle of the saddle upwards or downwards to a neutral position. A good idea would be to check the angle of the saddle using a spirit level, rather than eye-balling it.
Also, you can change the saddle sitting position on the rails by moving it forward or backward.
After you’re satisfied with the angle and position of the saddle, you can tighten back the bolts gradually but be careful you don’t alter the angle or position of the saddle in the process. Some trial and error is needed to make a bike seat more comfortable!
Adjust Your Seat Post Height

Adjusting the seat post height of your bike doesn’t just make you more comfortable, but it also helps to improve your pedaling efficiency. So not only you’re able to make a bike seat more comfortable but also have more fun while cycling.
Fortunately, you only need a multi-tool or a hex wrench to adjust the seat post height. If you’re lucky to have a bike that uses a quick-release lever to adjust the seat post height, you won’t need a hex wrench or a multi-tool.
Once you’ve loosened the lever or clamp holding the seat post, you can adjust the seat post upwards or downwards. Make sure you don’t lift the seat post past the minimum insertion line.
After you’ve tightened the clamp or lever to the seat post, you need to sit on the bike while leaning on the wall and pedal backward. If the seat post height is appropriate, your knee should be straight at the six o’clock position and your heel should be 1 to 2 cm below the pedal; this is known as the heel to pedal method.
However, if your knee is straight but you’re struggling to touch the pedal, it means you need to lower your saddle post. On the other hand, if you can’t straighten your leg, you ought to raise the seat post. Again, figuring out your settings to make a bike seat more comfortable requires some trial and error.
Adjust Your Handlebar Height as one of the ways to make a bike seat more comfortable

If you’re experiencing lower back pain, hand numbness, upper neck tension, and seat instability after a long ride, the cause could be that you’re struggling to reach out to the handlebars.
So what should you do about it? It’s simple, just put your bike on a repair stand and grab a hex key and a torque wrench.
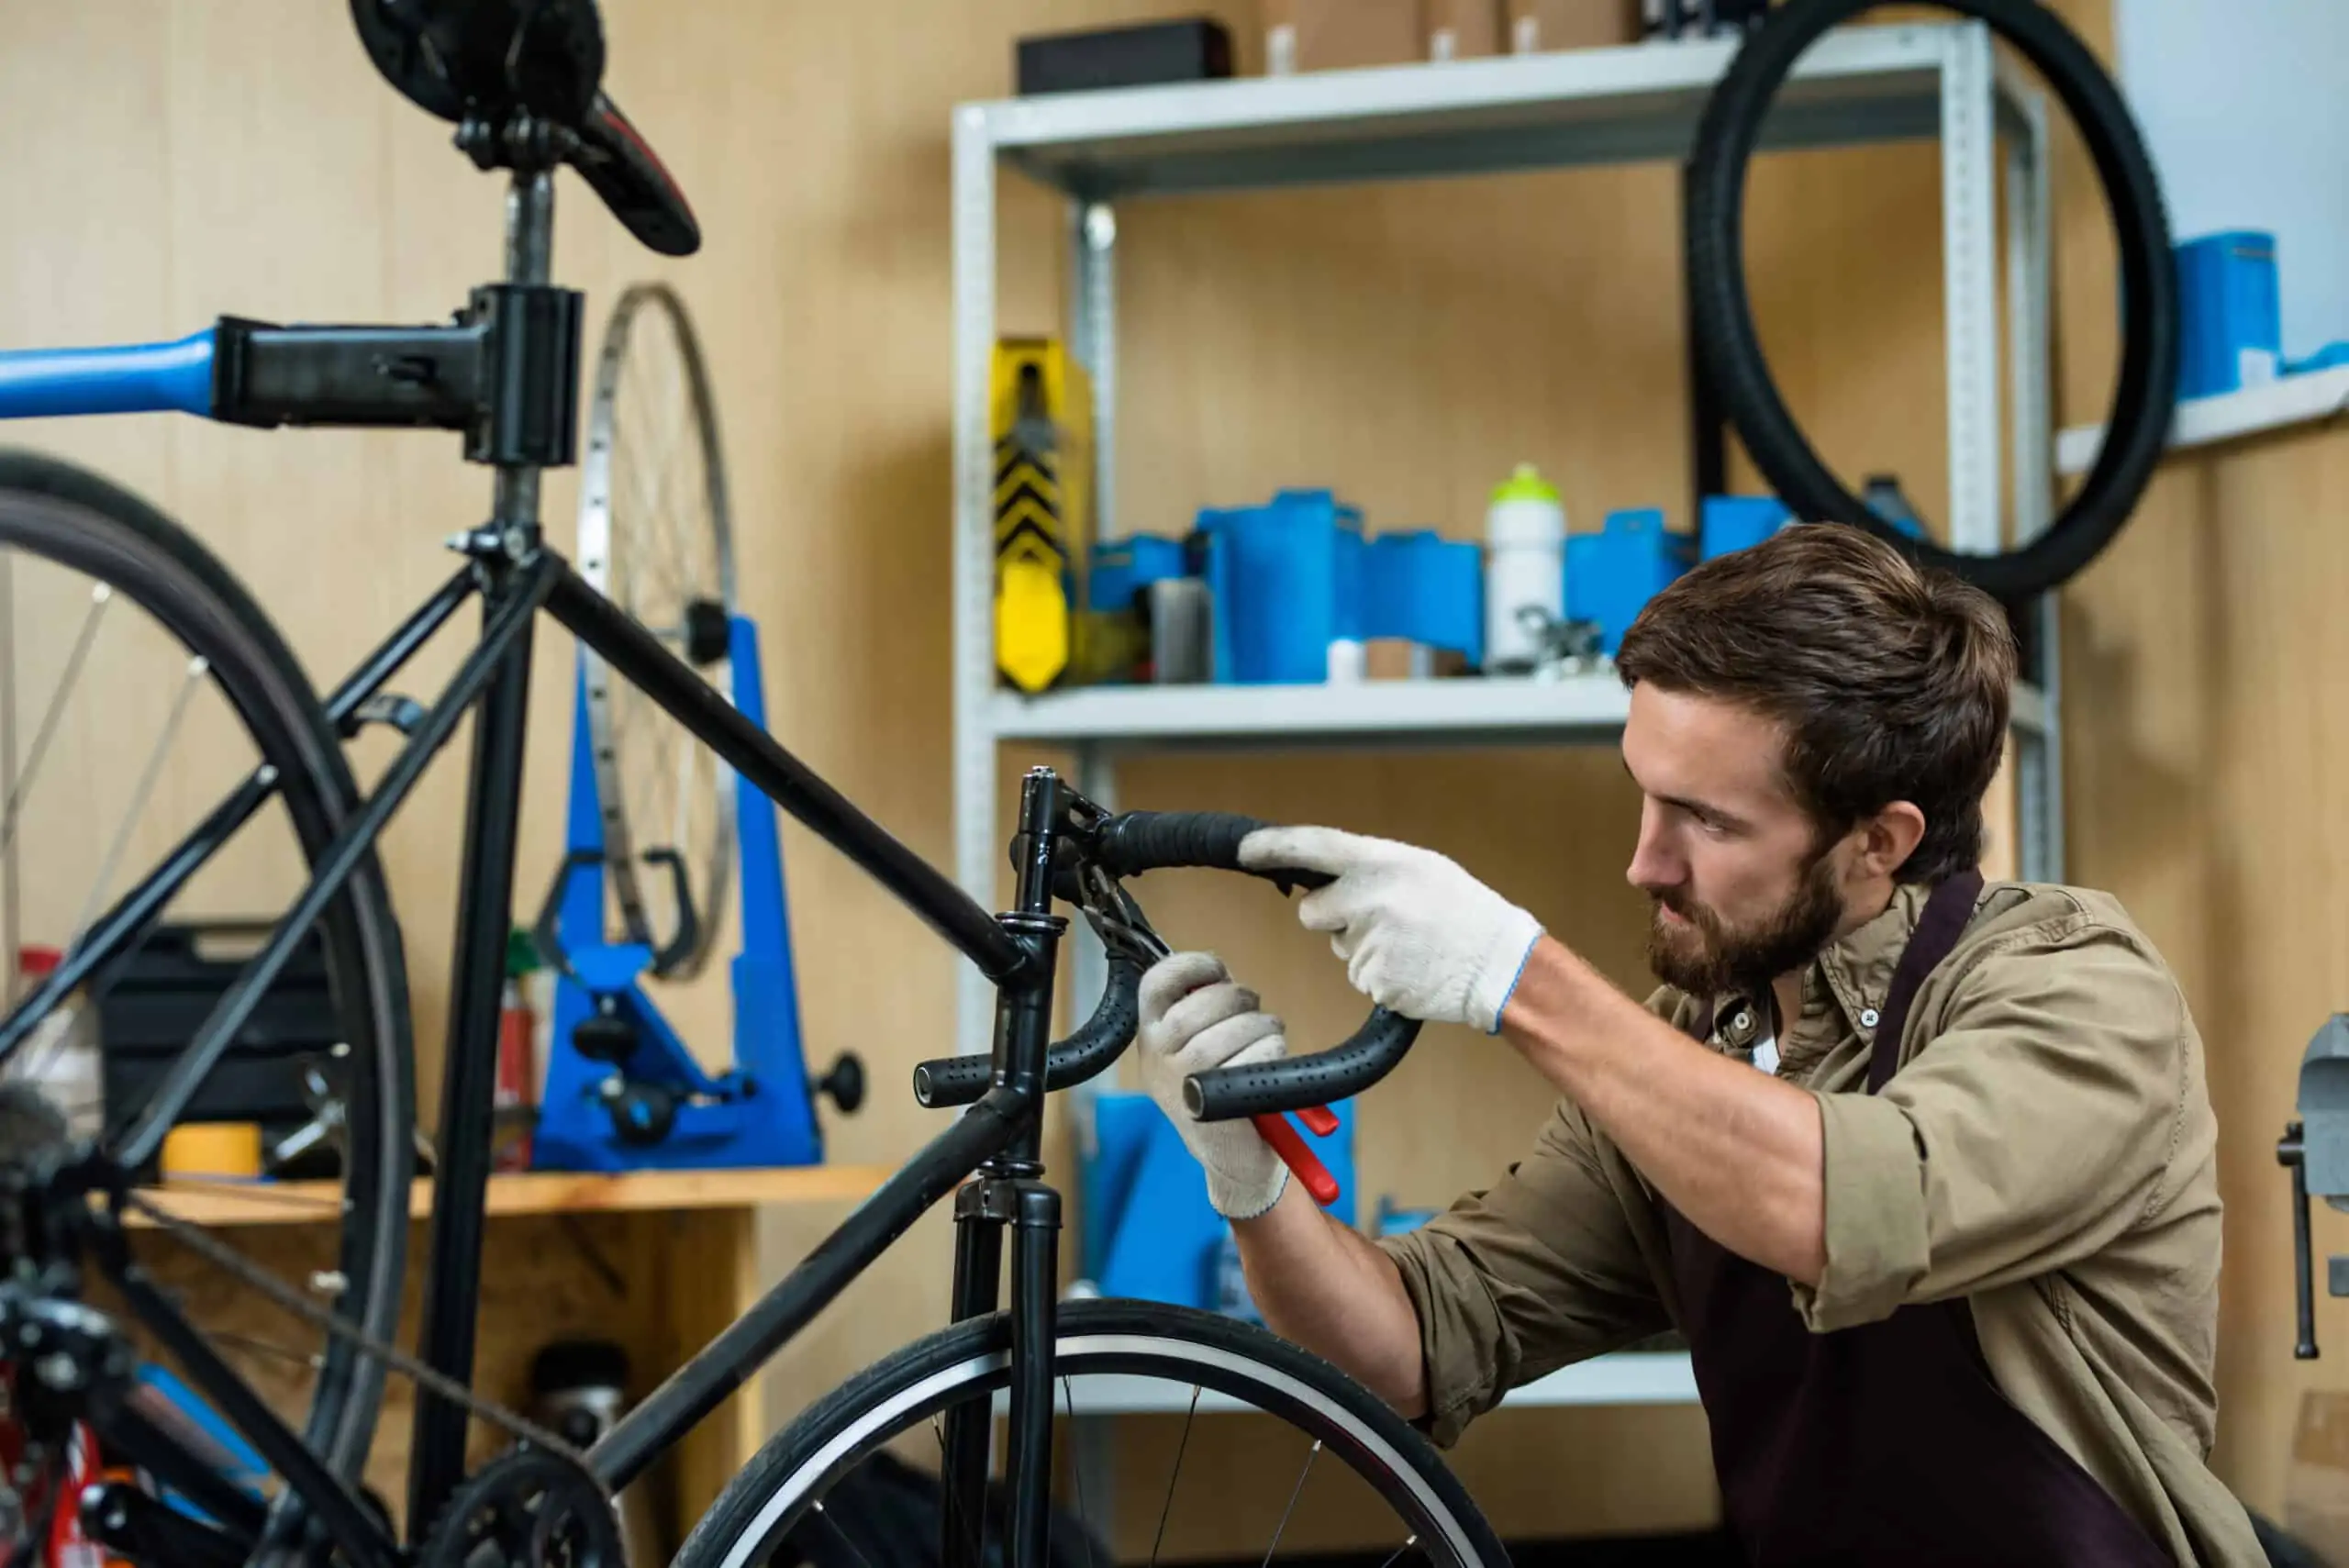
To get started, you need to remove the cap bolt at the top of the stem using a hex key. Next, you can unscrew the bolts on the sides of the stem using a torque wrench; although some bike models are not designed with those center bolts.
Once you’ve got that out of the way, you can raise or lower the handlebar height to your preference. For some bikes, you will need to add or remove spacers but on other types of bikes, you can just lift or lower the steerer tube to adjust the handlebar height.
If you want to take it further, you can unscrew the faceplate bolts attaching the stem to the center of the handlebar, and position the handlebar at a straight angle.
After you’ve made the adjustments, you can re-install the handlebar and stem bolts but make sure you don’t over tighten the screws and bolts.
Adjust Your Tires And Tire Pressure

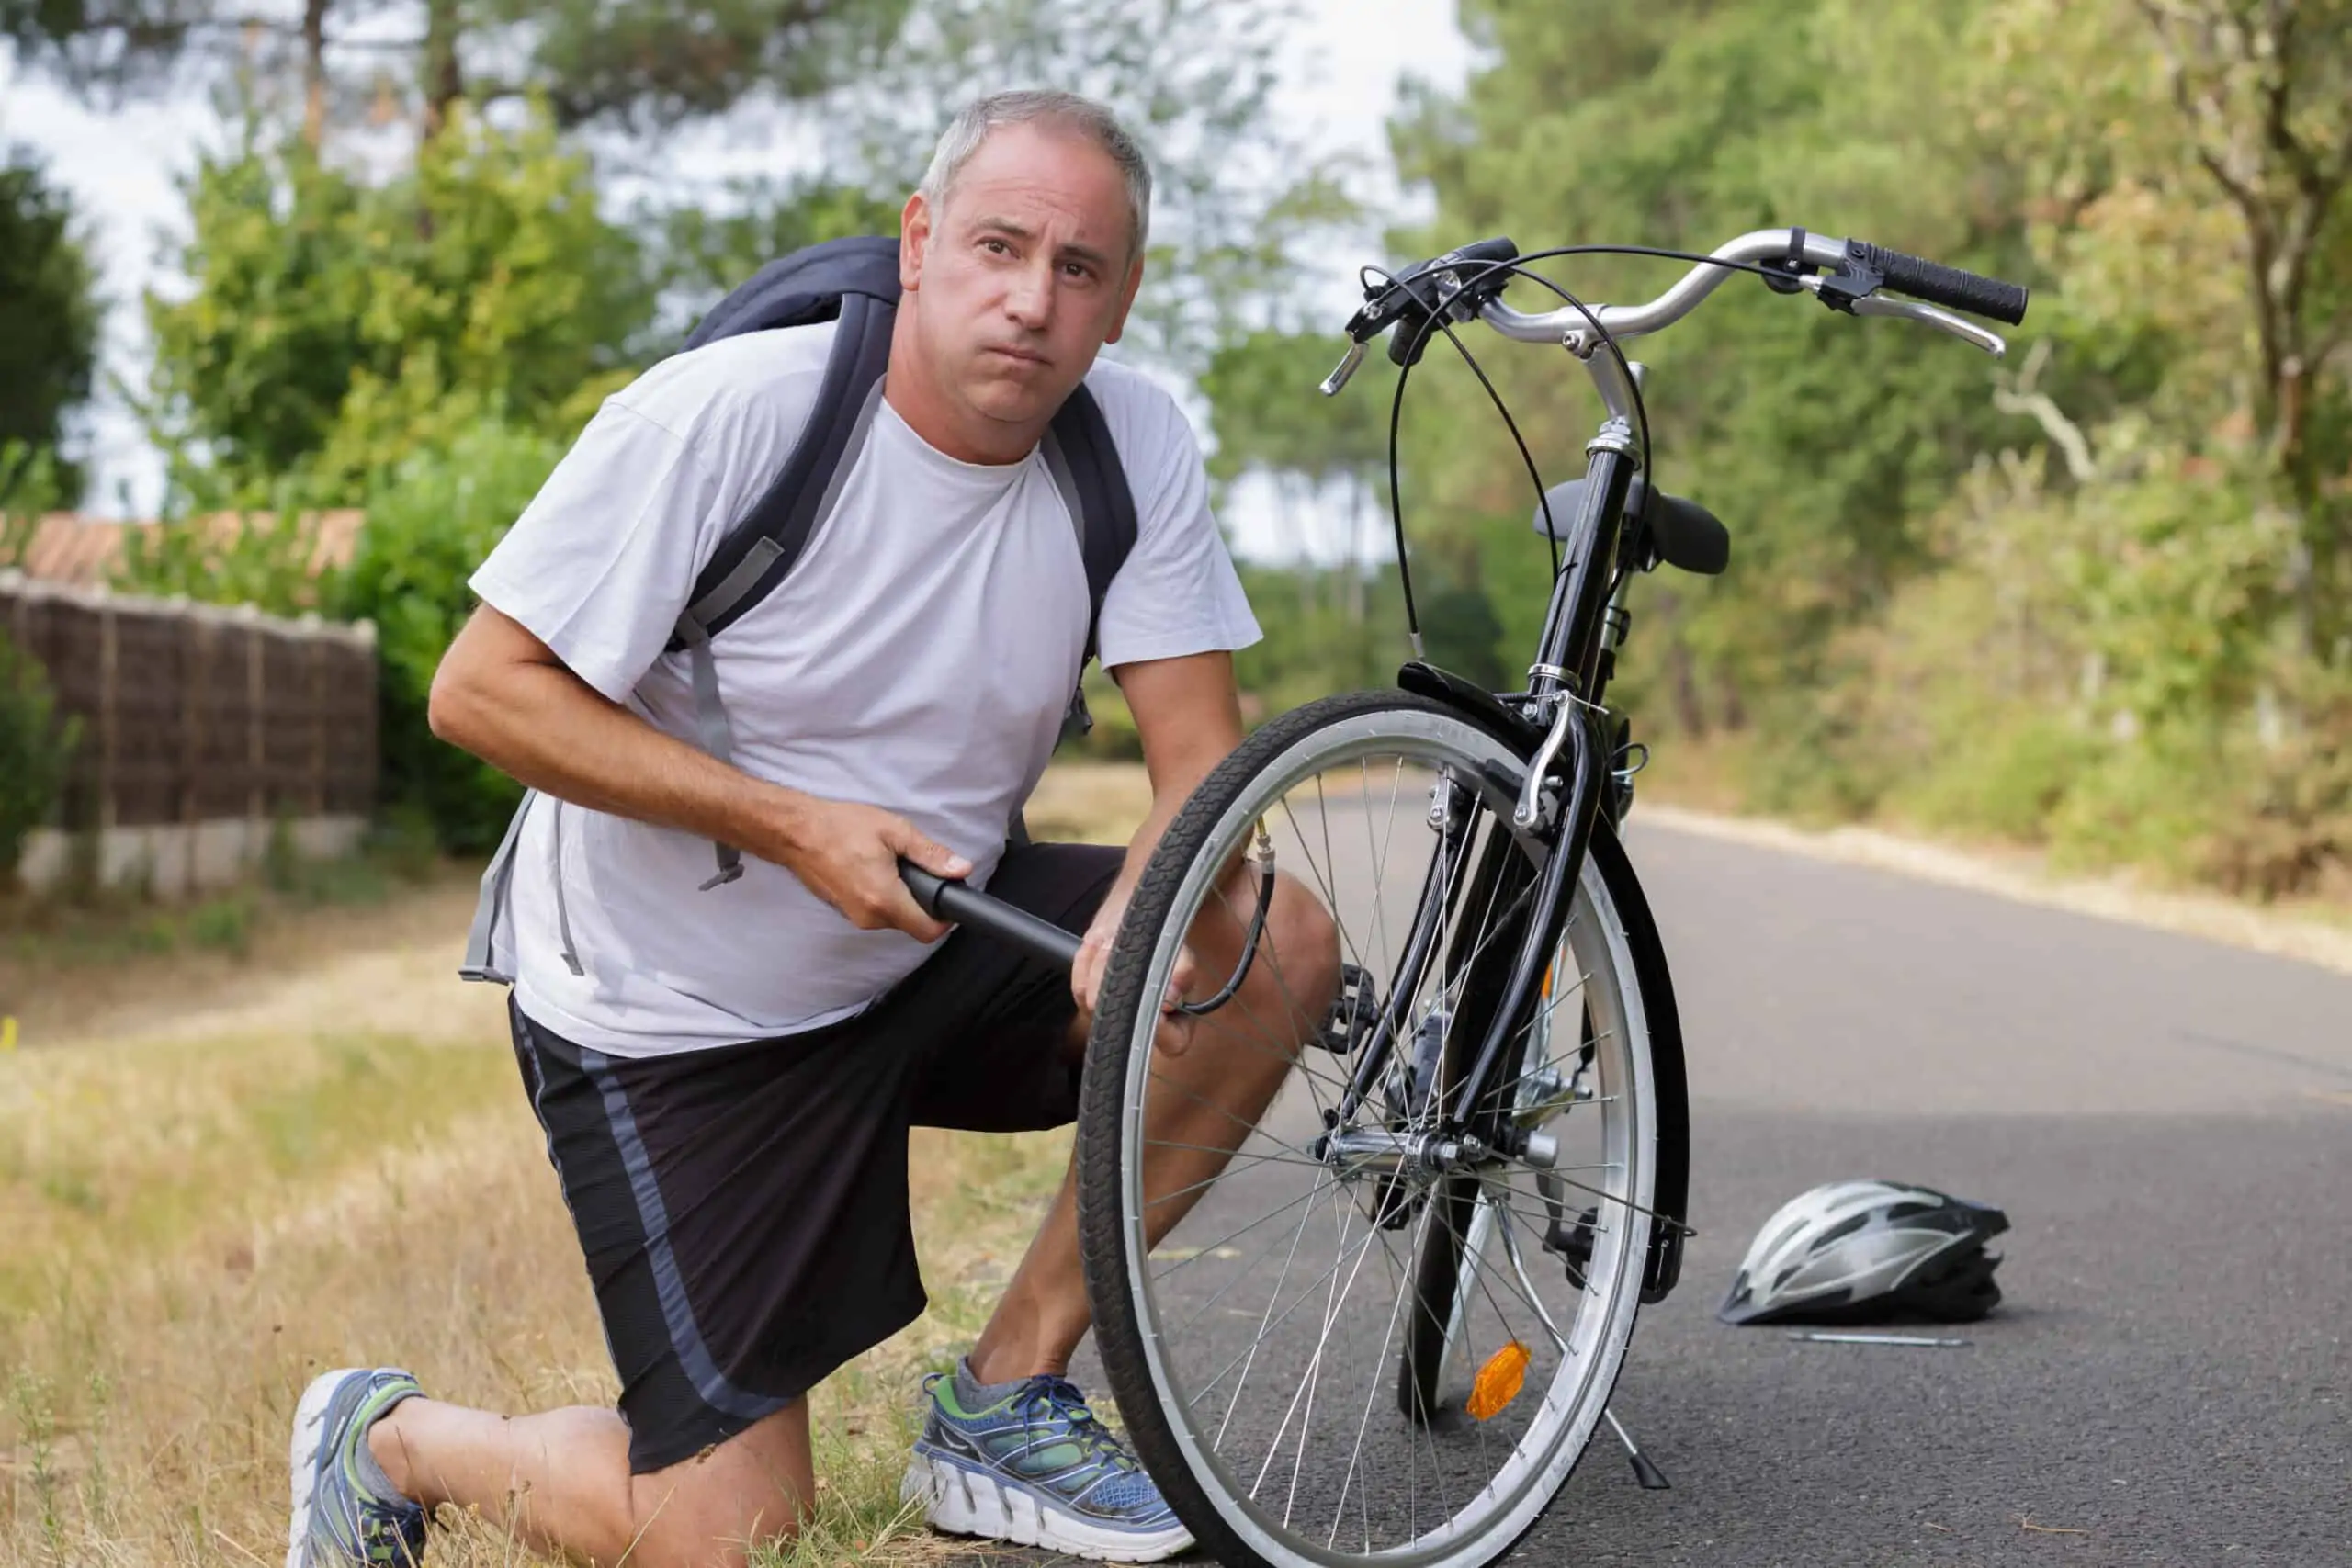
Besides having an impact on your performance, your tires and tire pressure could play a role in your comfort. However, how much air pressure you need in your tires depends on the type of bike that you ride.
For instance, if you ride a mountain bike, you would be more comfortable with an air pressure of 25 to 35 PSI (pounds per square inch). But if you’re on a road bike, we recommend a higher tire pressure from 80 to 130 PSI. On the other hand, if you’re riding a gravel bike to navigate both smooth and rough roads, you would do better with 40 to 80 PSI air pressure.
Conveniently, the recommended PSI is usually imprinted on the tire sidewall by the manufacturer. As long as you have an accurate tire pressure gauge, it shouldn’t be a problem to monitor your PSI.
One more thing; you also need to consider your body weight. As a general rule, if you weigh over 70 kg or 160 pounds, you should add an extra PSI of pressure for every 5 kg or 11 pounds above the average weight (70 kg). That means, if your weight is 90 kg and the recommended tire pressure is 30 PSI, it’s okay if you inflate the tires to 34 PSI.
Talking about the types of tires, we prefer tubeless tires because they can be used at lower inflated pressure while keeping a consistent performance. Not to mention, tubeless tires are more comfortable than tubed tires
Frequently Asked Questions about how to make a bike seat more comfortable
Question 1: What angle should my bike seat be at?
To make a bike seat more comfortable, your bike seat should be at an almost straight angle. However, if you’re tilting the angle of your bike seat, make sure you don’t position it more than 2 degrees downwards or upwards to make a bike seat more comfortable
Question 2: Is my saddle too far back?
If you’re finding it difficult to control the handlebar while you’re riding, it could be because your saddle is too far back. Also, if you struggle to position your sit bones on the wider part of the seat, you should think about moving your saddle forward. Trial and error to find setting to make a bike seat more comfortable.
Question 3: Does bike seat pain go away?
If you do everything we’ve recommended in this guide, your bike seat pain should go away. However, even if you have the perfect saddle, it may take up to 2 weeks for your body to adapt to riding on a saddle; especially if you’re a newbie or you ride a longer distance than usual.
It’s just like going to the gym; your muscles may hurt for the first few days, but as you keep up the consistency, the pain goes away. However, after finding the right settings for you, you should easily be able to make a bike seat more comfortable.
Conclusion about how to make a bike seat more comfortable
In a nutshell, if you follow all the tips about how to make a bike seat more comfortable, we’ve discussed in this article, it will be easier to ride on your bike seat. Beyond that, if you’re a new cyclist, we recommend you visit the nearest bike shop to get a professional bike fit before you buy a saddle.
Also, you should purchase high-quality padded bike shorts to make your ride more comfortable.